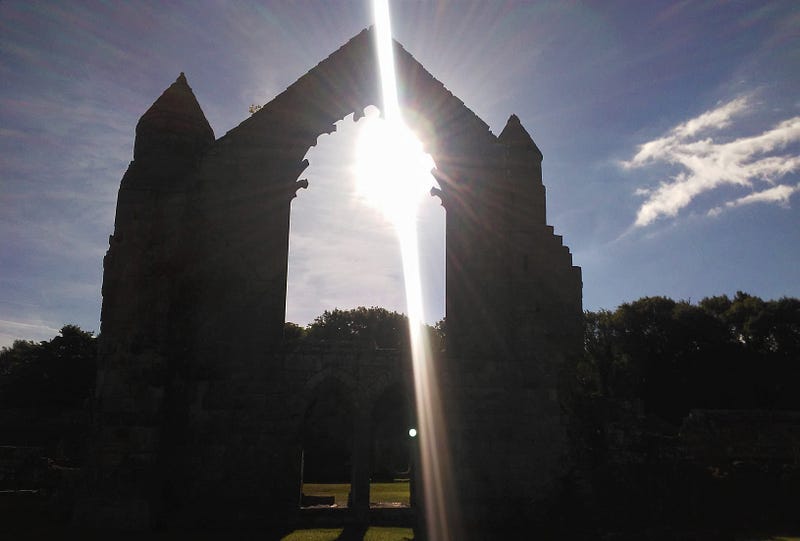
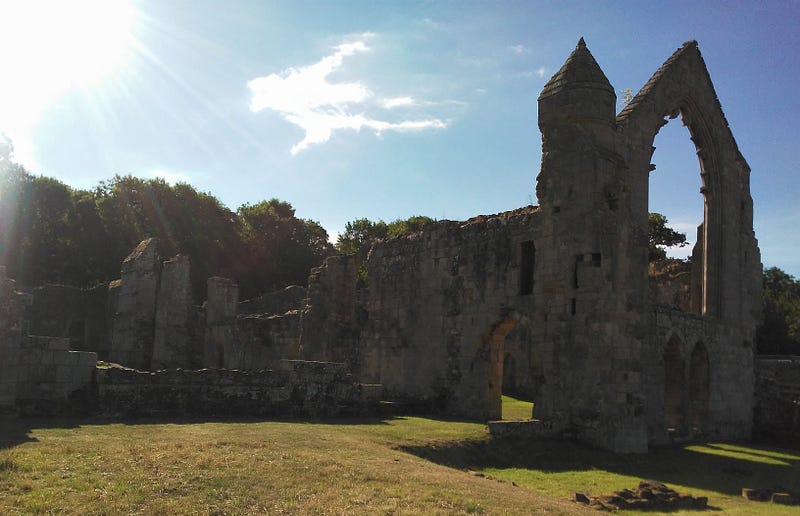
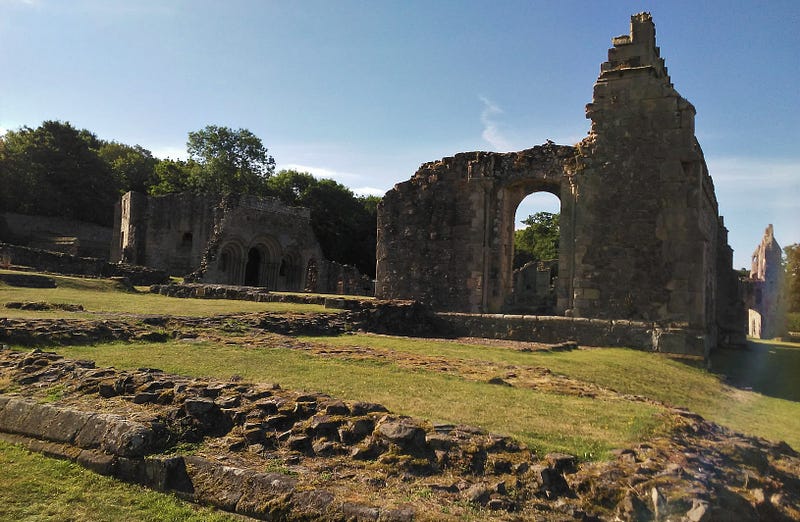
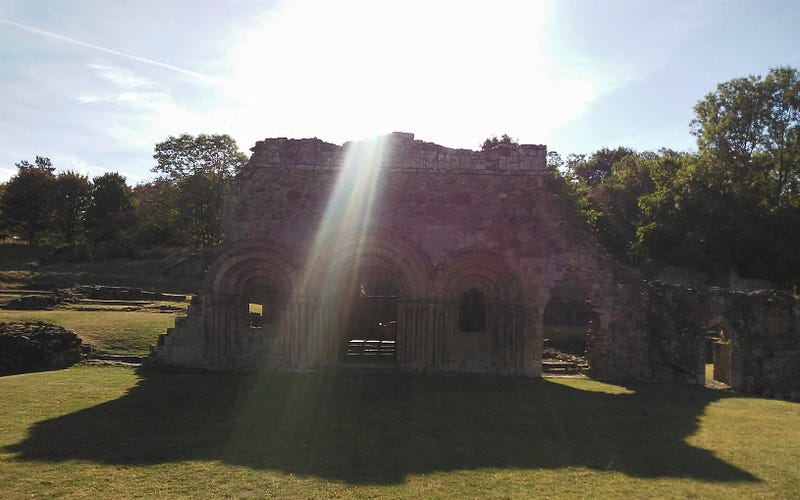
Augustinian Monastery bathed in early morning sunshine
Quite the image from a quite beautiful early morning within the ruins of a 12th Century Augustinian Monastery (Author’s Collection).
Haughmond Abbey was my first port of call on an incredibly sunny Sunday morning that would see me eventually enjoying another three sites of ruinous remains within the county of Shropshire, in the beating heart of England. Perhaps Sunday was the perfect day to enjoy such ruins to a religious past of yore and perhaps it was the lucky strike that these spectacular ruins were so beautifully preserved and far more so than other sites within the county. Or perhaps it was the older lady caretaker who kind of asked me to leave as the site wasn’t officially open at such an ungodly hour, even on a Sunday morning. I was under the impression that, as per the English Heritage website, sites such as these were open in “reasonable daylight hours” but I apologised profusely and confirmed I was innocently and simply taking some pictures and, as is my mantra, “making memories”, and I would soon be departing.
“I see you’re still making memories” she retorted a couple of minutes later as I simply couldn’t tear myself away from the majesty that is Haughmond Abbey.
Take a look for yourself and bask in both the beautiful early morning Shropshire sunshine and the magnificence that is this 12th Century, medieval Augustinian Monastery.
The hour or so I spent here is one of my very favourite “making memories” of recent times. I hope you enjoy.
*All images captured by me on Sunday 7th August 2022*
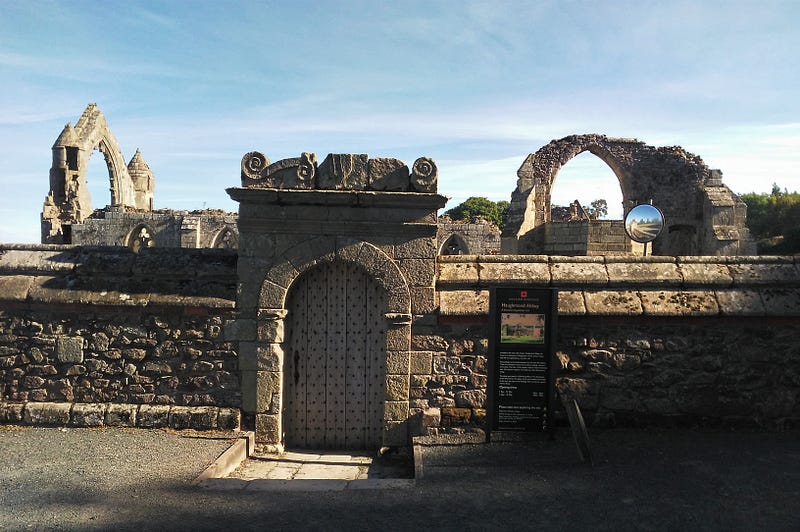
Welcome to Haughmond Abbey!
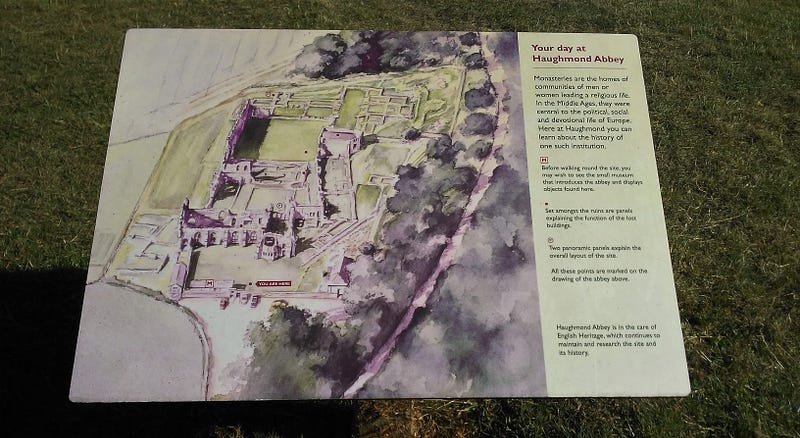
“Your day at Haughmond Abbey”. Just make sure you arrive after 10am!
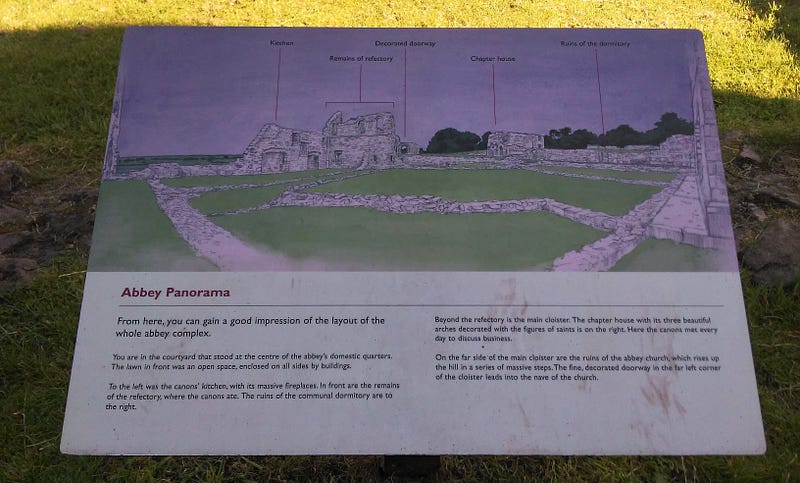
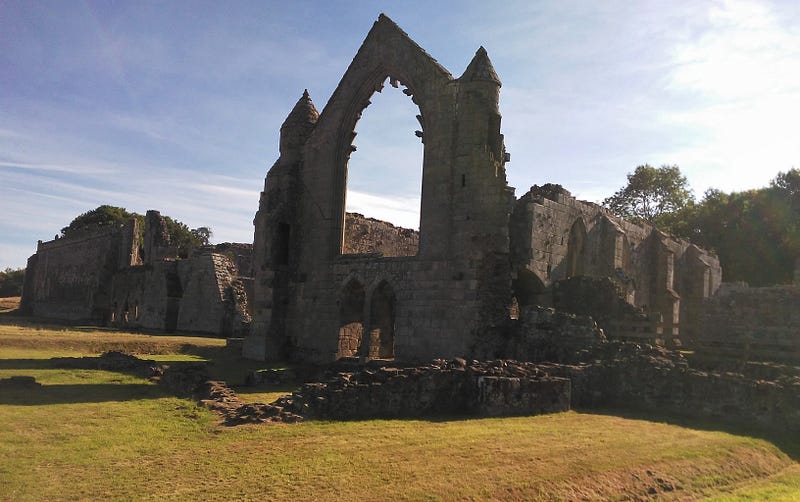
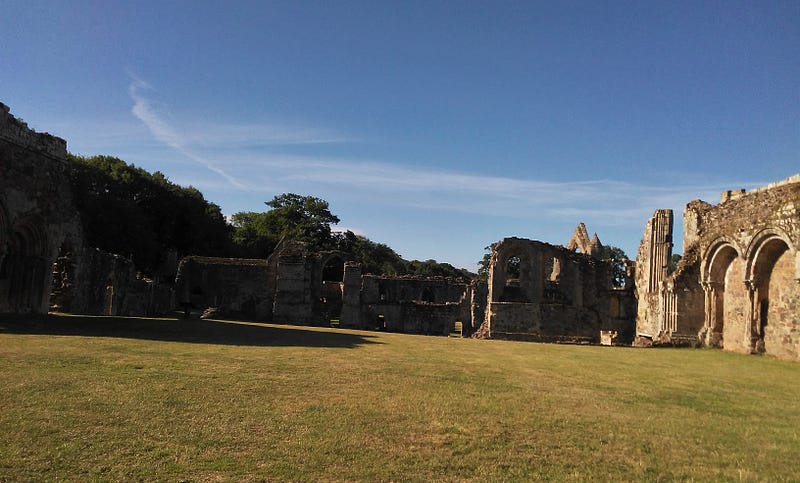
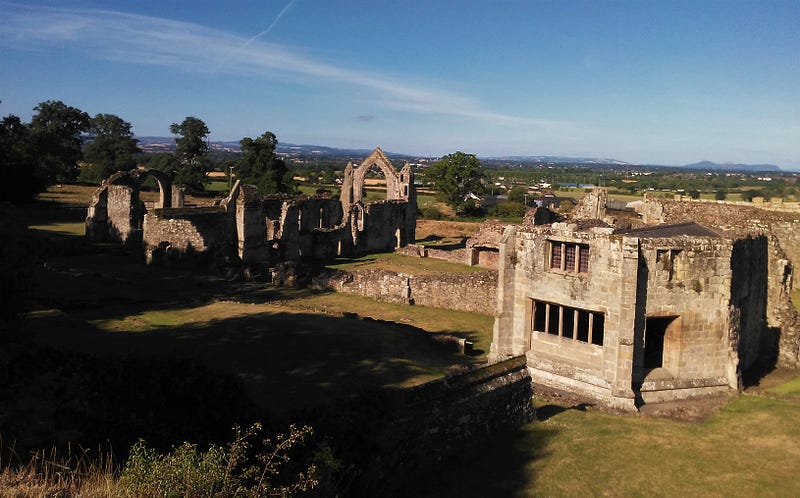
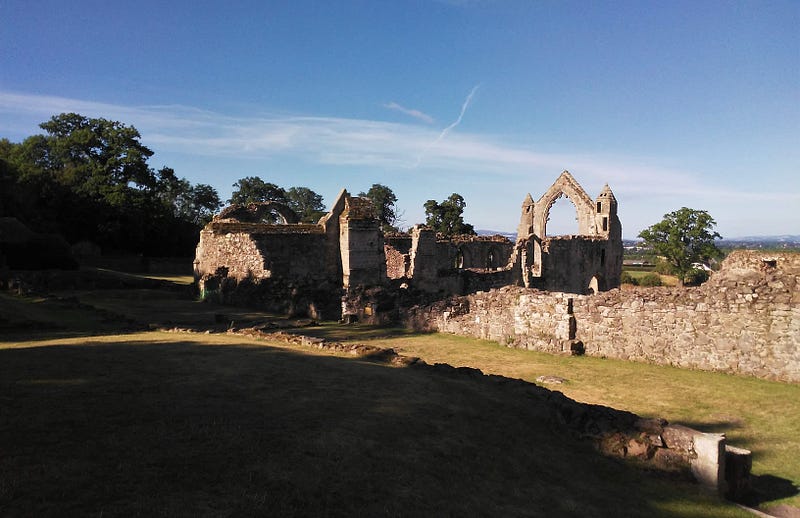
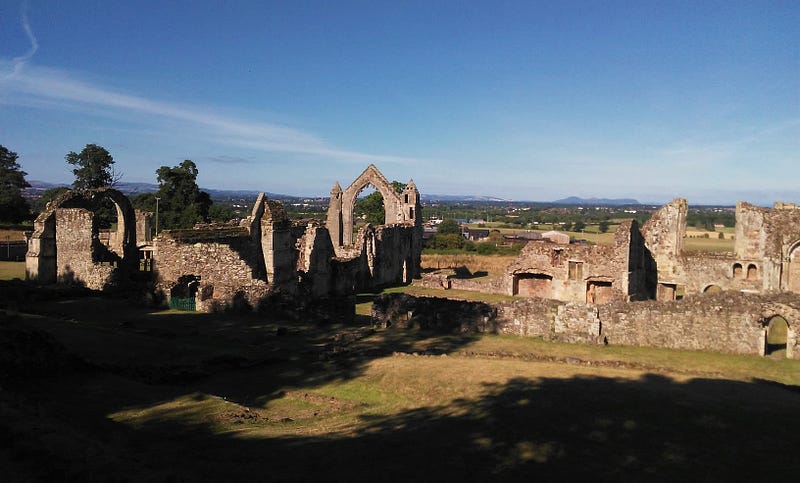
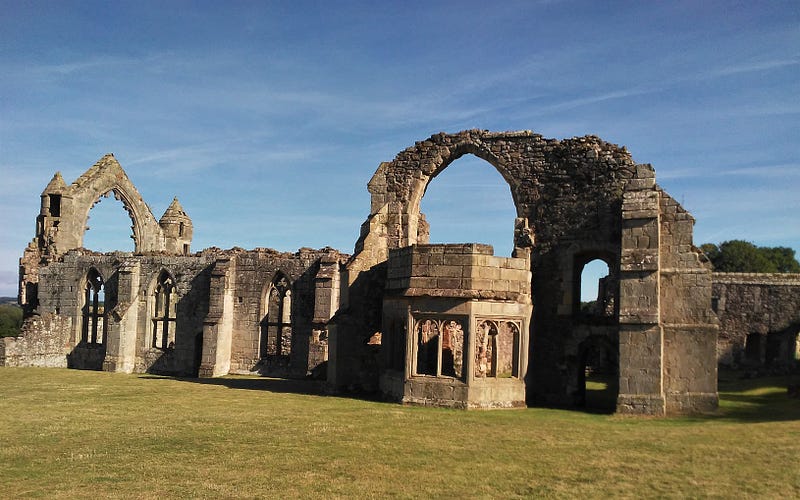
“Abbey Panorama”.
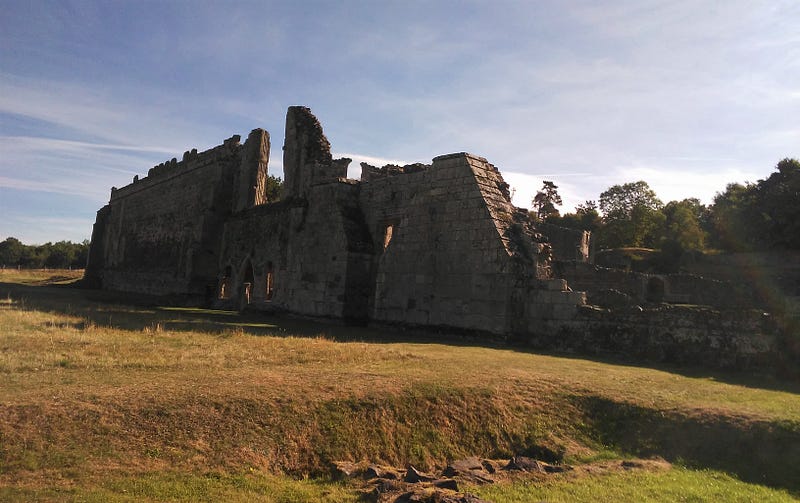
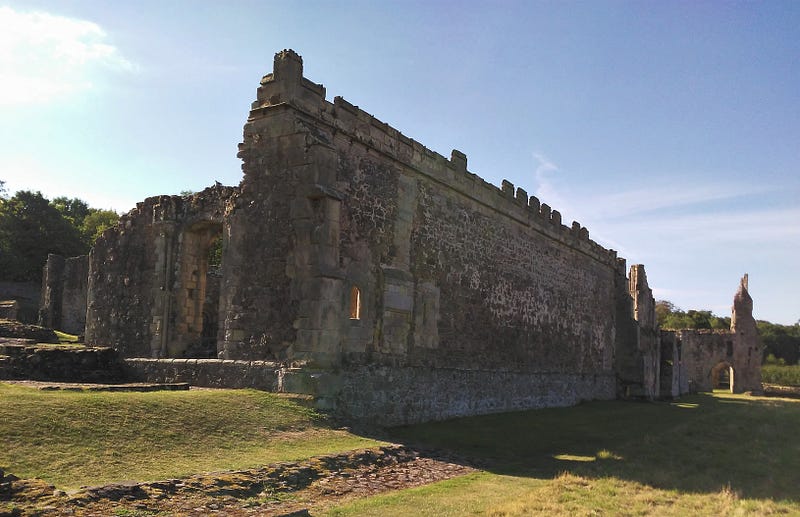
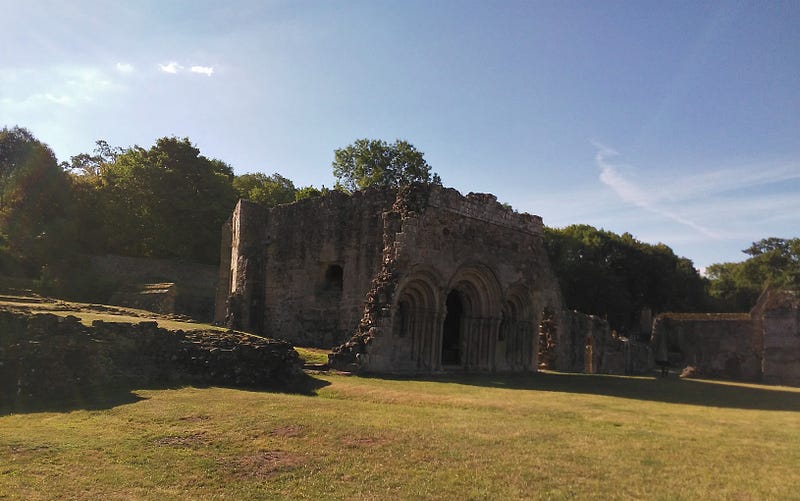
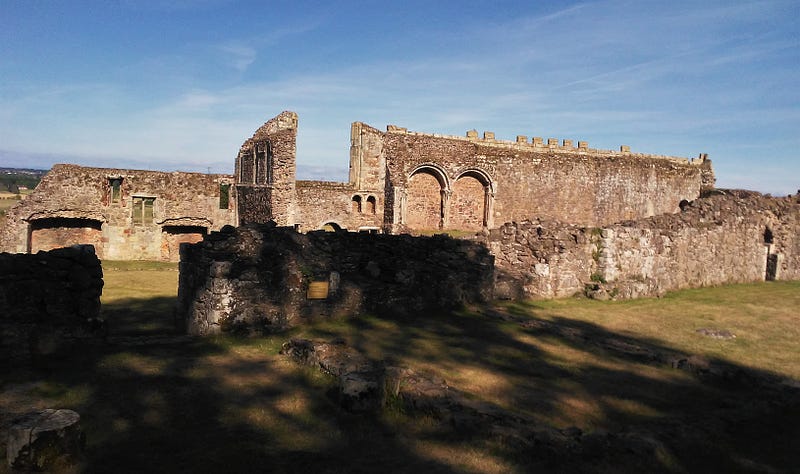
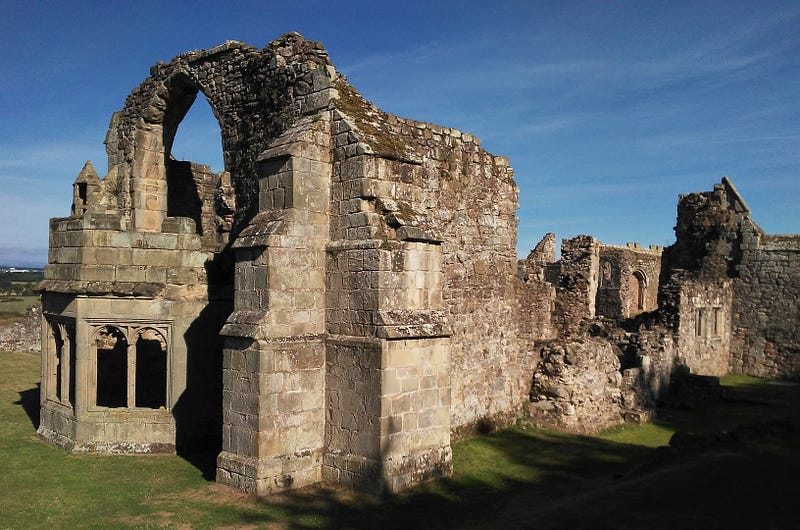
(1) A first rear sighting of the “Great Hall” or Abbot’s Hall.
(2) A first rear sighting of the “Great Hall” or Abbot’s Hall.
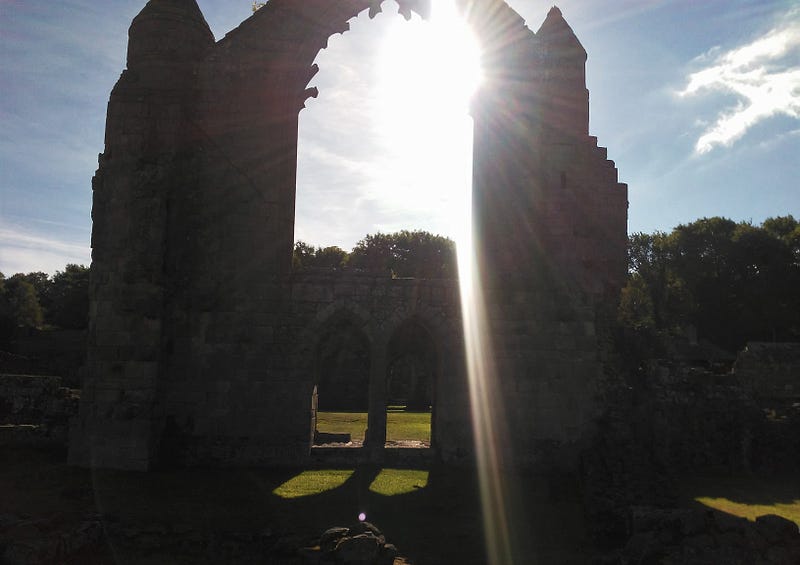
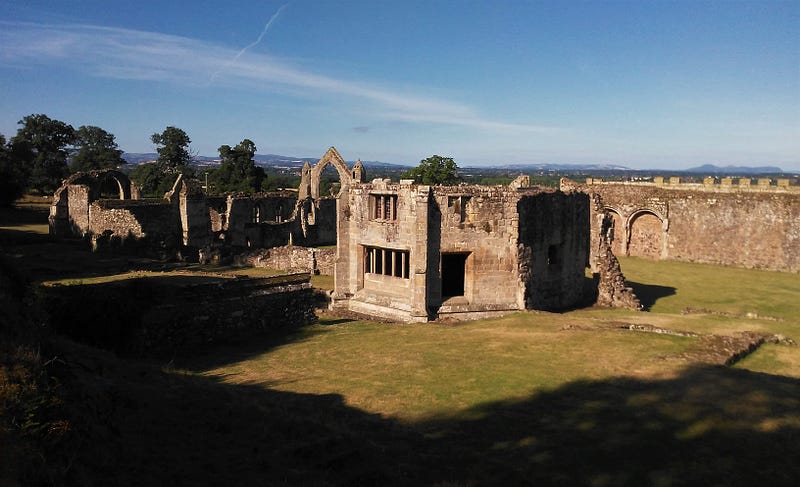
(1) The sun shining on the righteous and the Abbot’s Hall of Haughmond Abbey.
(2) The sun shining on the righteous and the Abbot’s Hall of Haughmond Abbey.
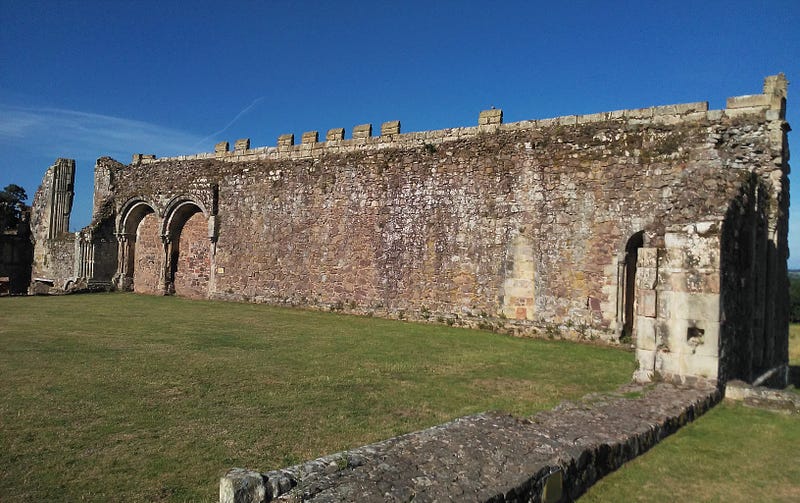
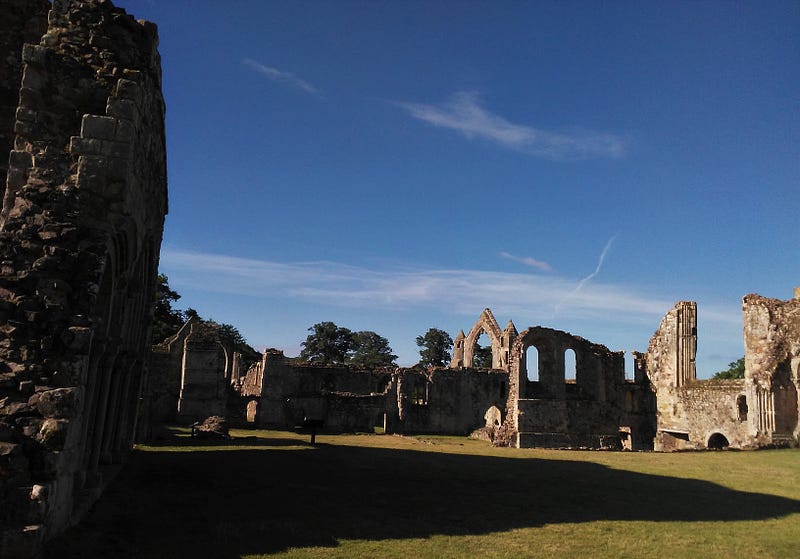
I walked around the perimeter of the ruins before entering the large areas inside.
Abbot’s Hall and a further image of the remaining ruins from the outside.
It was an incredibly beautiful, peaceful (and early!) morning.
This is the furthest point of the first side of the outer ruins.
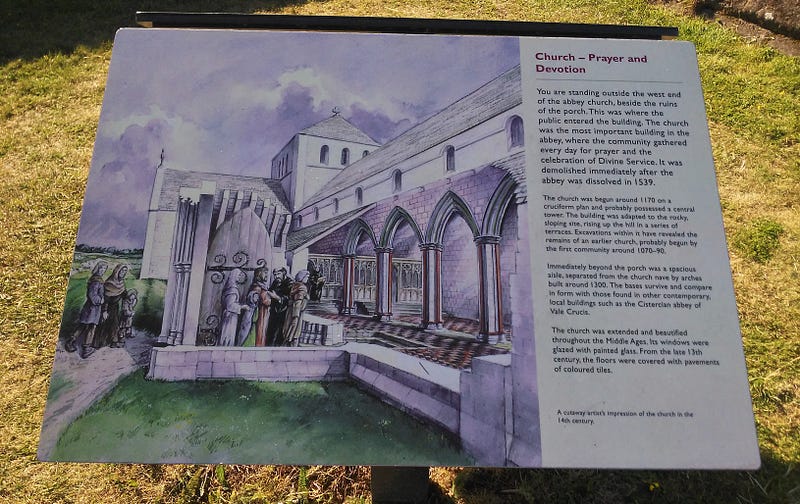
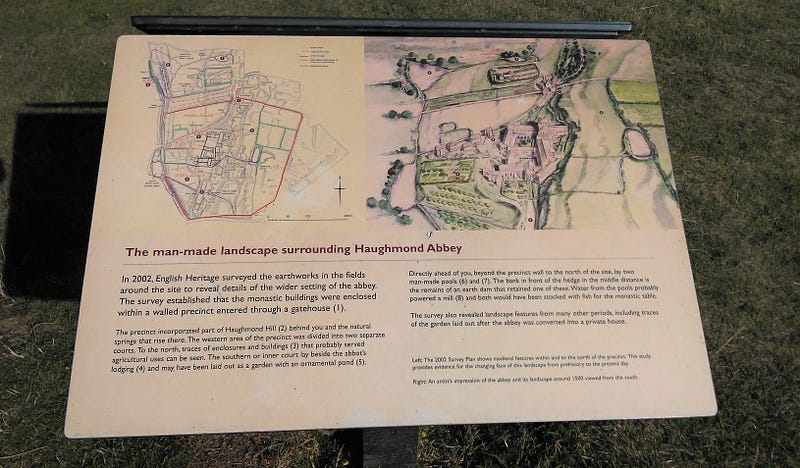
Not all of the information boards were as pristine as this but a perfect summation as to this point in the walk.
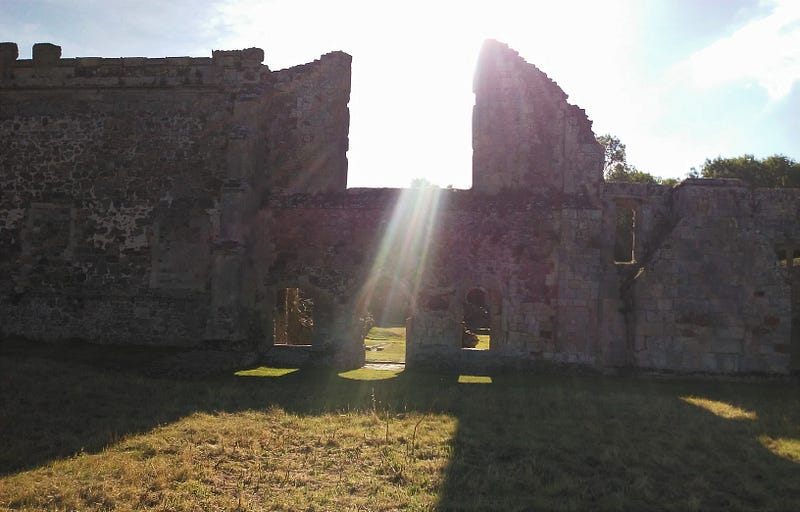
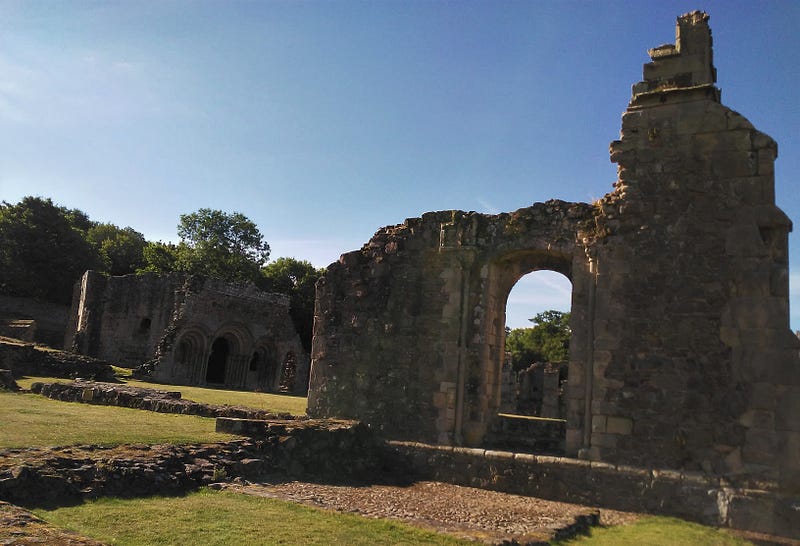
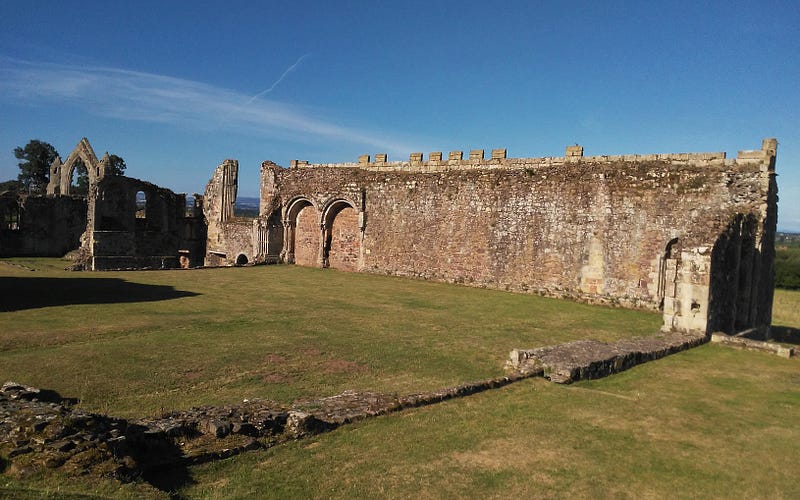
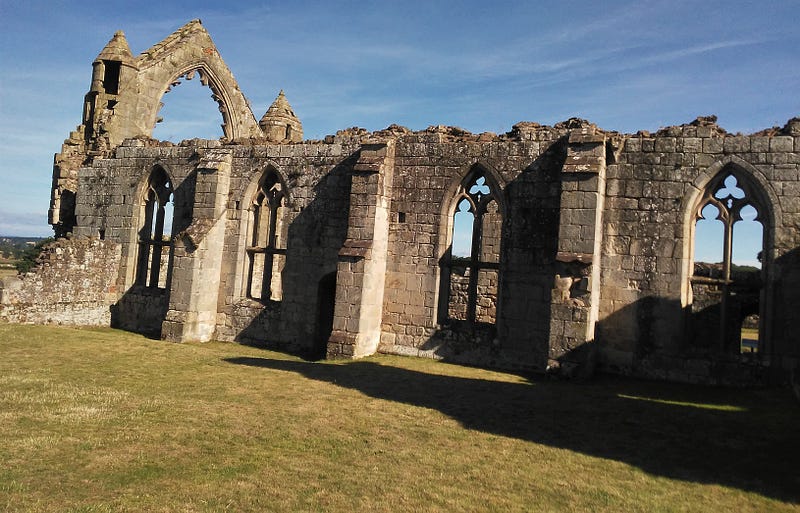
View from the outer remains of the ruins. The building on the left is the “Cloister” and figures heavily as we proceed.
Haughmond Abbey is a free site to the public and maintained and cared for by English Heritage.
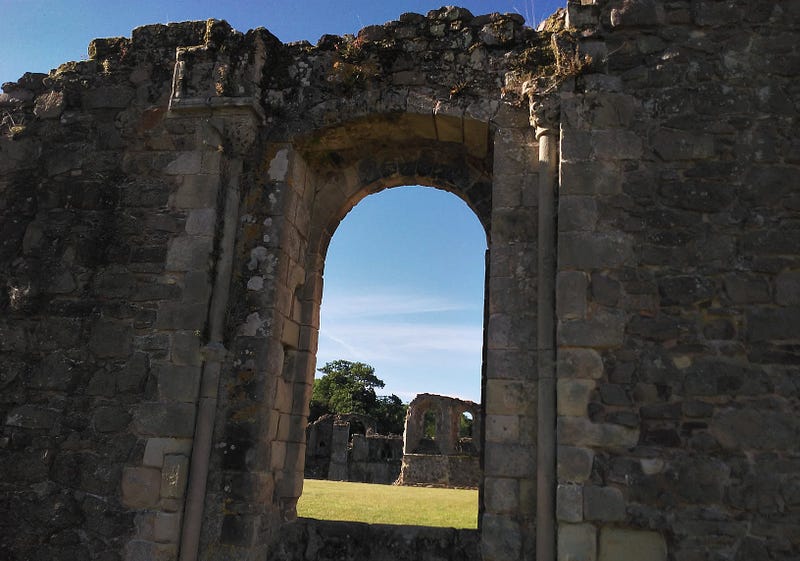
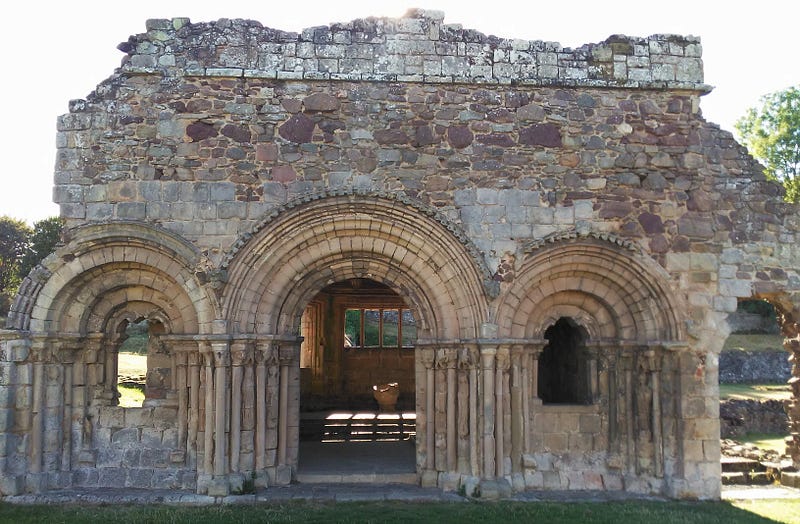
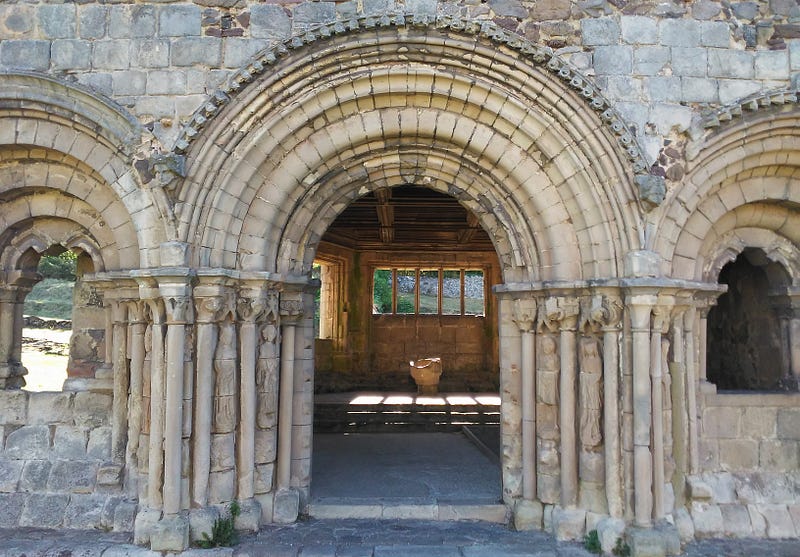
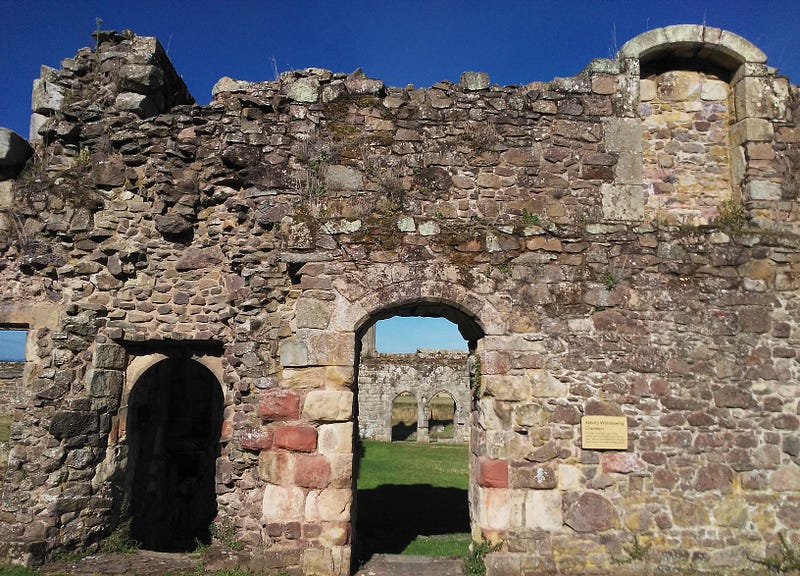
The arch doorway to your right is part of the “Abbot’s Withdrawing Room” and also features later in the walk.
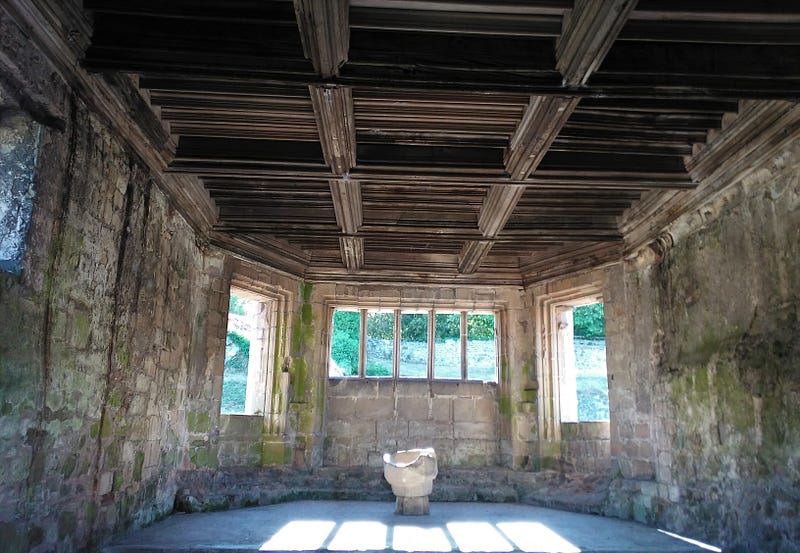
A view through the doorway of the “Abbot’s Withdrawing Room”.
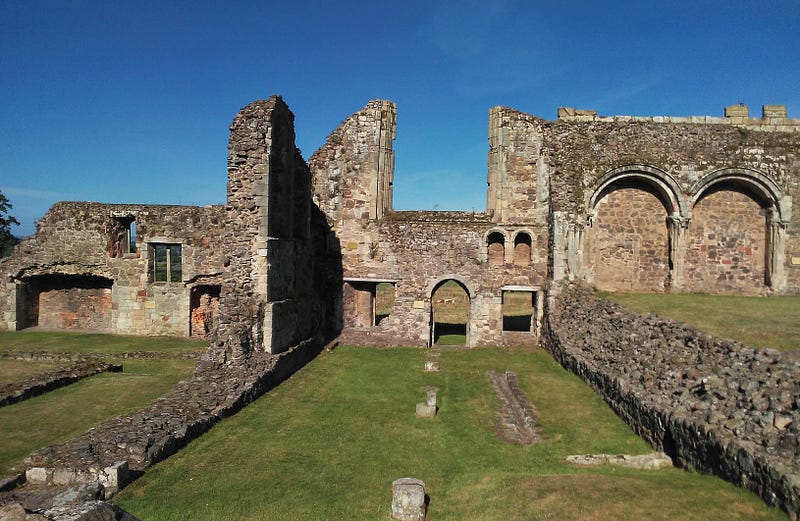
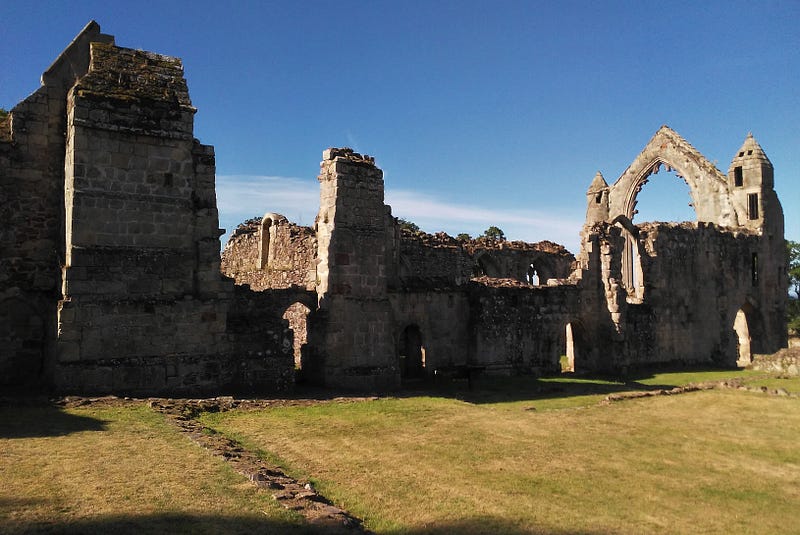
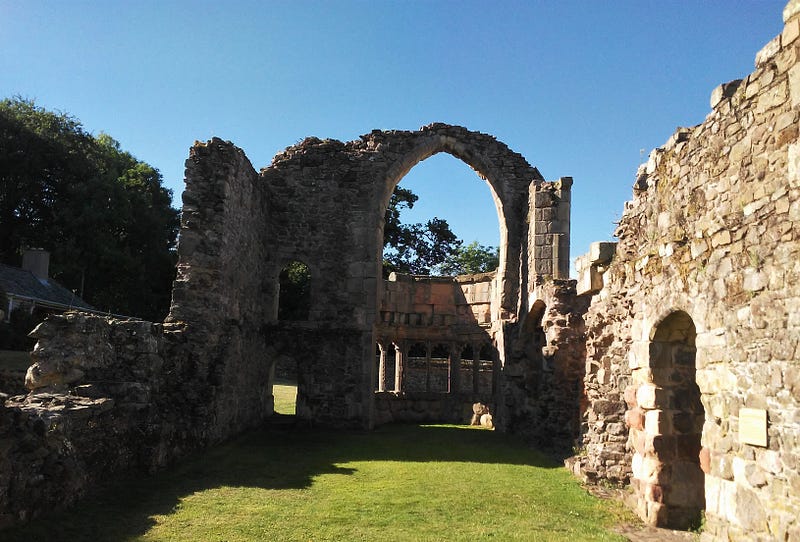
(1) Three views from the “Nave” and the central remainder of the ruins.
(2) Three views from the “Nave” and the central remainder of the ruins.
(3) Three views from the “Nave” and the central remainder of the ruins.
Taken directly from the small and weathered information board: “Presbytery — This was the site of the high alter of the church. Behind it stood a stone or timber screen called a reredos, decorated with saints and images of the crucifixion”.
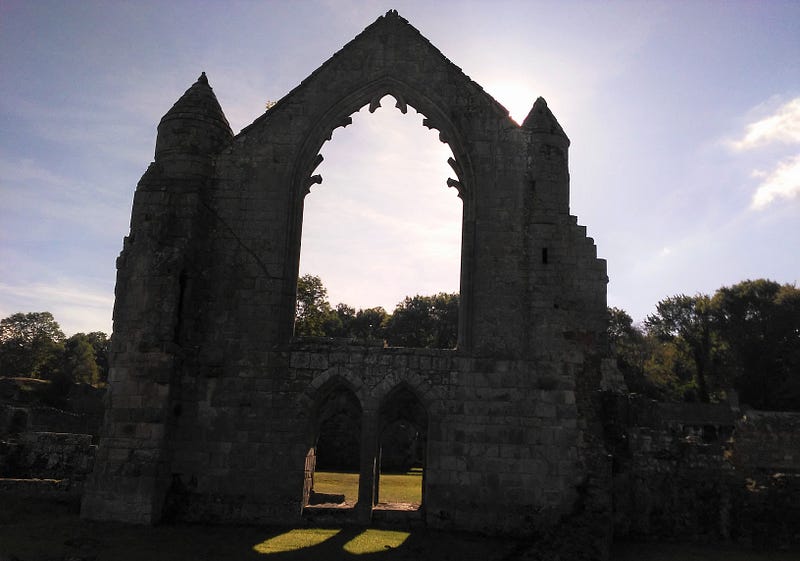
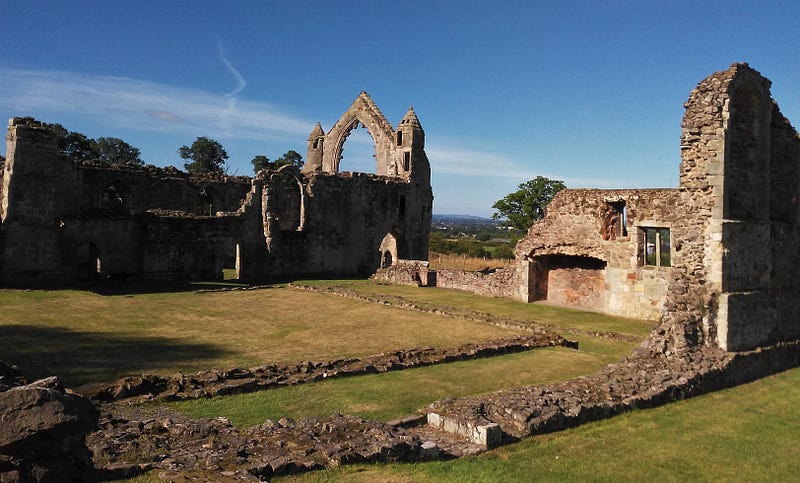
(1) Three views from the highest possible vantage point over the vast majority of the ruins. Quite beautiful isn’t it?
(2) Three views from the highest possible vantage point over the vast majority of the ruins. Quite beautiful isn’t it?
(3) Three views from the highest possible vantage point over the vast majority of the ruins. Quite beautiful isn’t it?
(1) Taken directly from the small and weathered information board: “Longnor’s Garden — This enclosed area was made into a garden by Nicholas de Longnor, who was the abbot from 1325 to 1346. It contained a dovecote”.
(2) Taken directly from the small and weathered information board: “Longnor’s Garden — This enclosed area was made into a garden by Nicholas de Longnor, who was the abbot from 1325 to 1346. It contained a dovecote”.
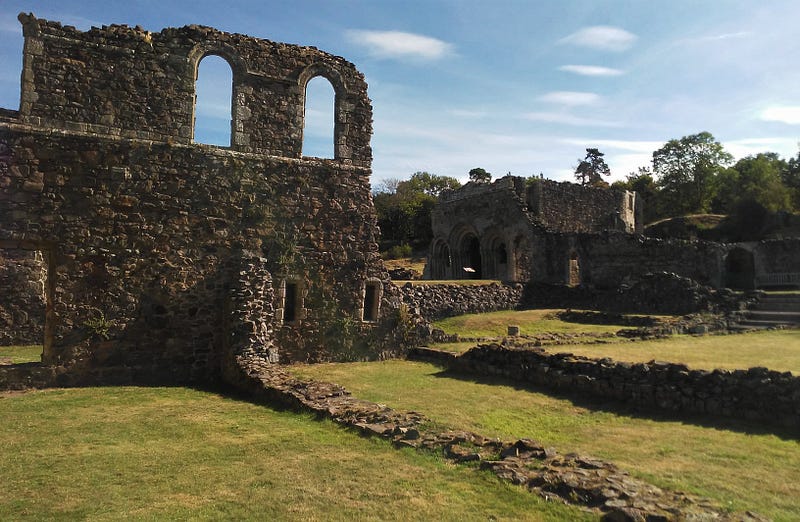
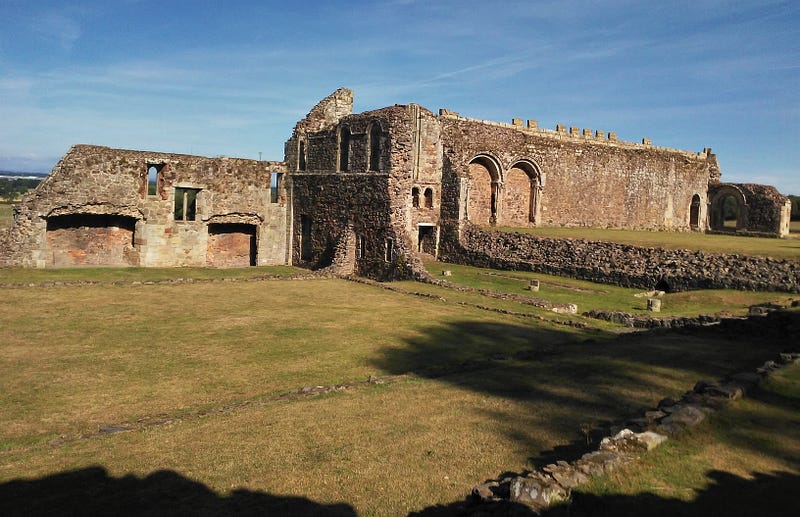
(1) Three further images from within the inside of the ruins.
(2) Three further images from within the inside of the ruins.
(3) Three further images from within the inside of the ruins.
Taken directly from the small and weathered information board: “Laver — Below these two arches were basins fed by running water. The Canons washed their hands here before entering the refectory for meals”.
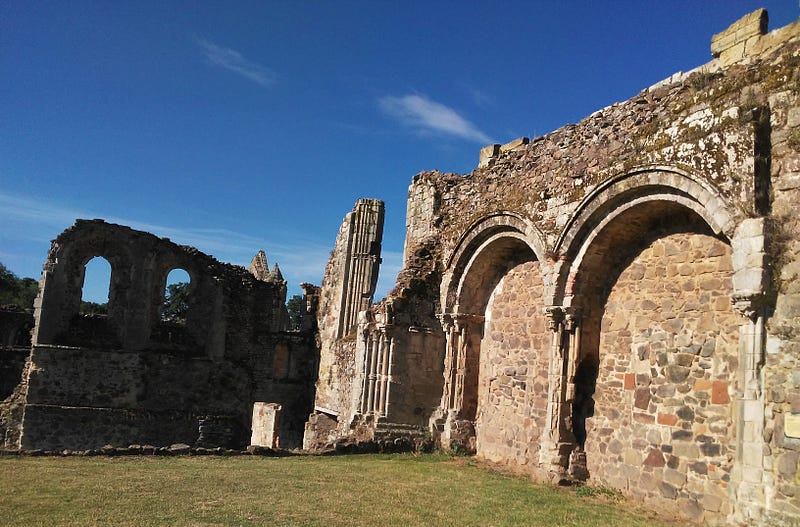
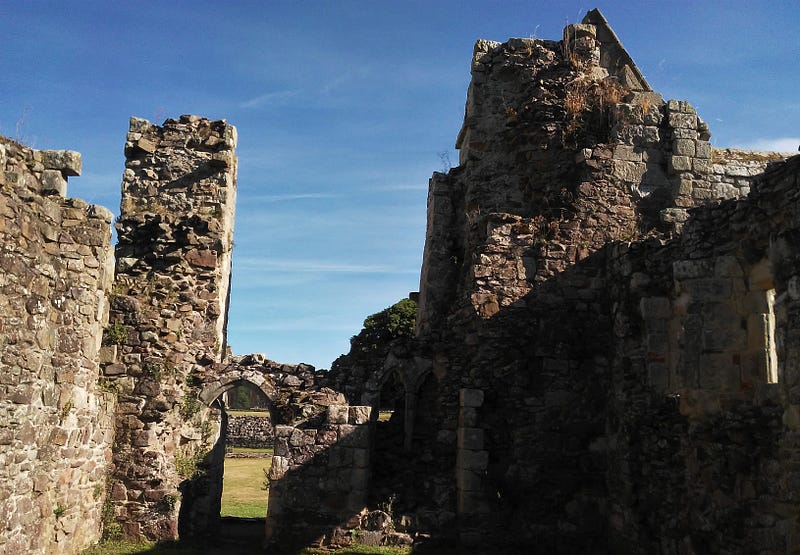
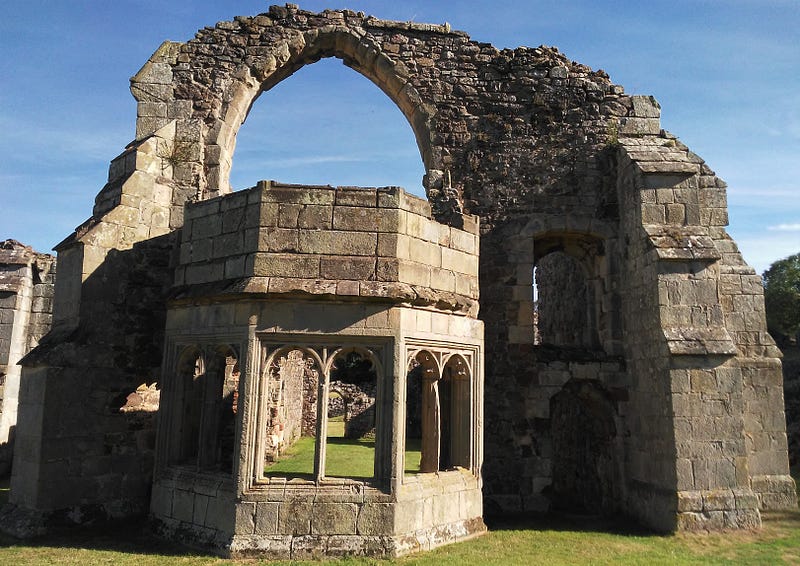
“The Cloister” — Part 1.
“The Cloister” — Part 2.
“The Cloister” — Part 3.
“The Cloister” — Part 4.
“The Cloister” — Part 5.
(1) Three more views from on high that encompass the entirety of the ruins.
(2) Three more views from on high that encompass the entirety of the ruins.
(3) Three more views from on high that encompass the entirety of the ruins.
Taken directly from the small and weathered information board: “Dormitory — The upper storey of this ruined building housed the canon’s dormitory. The beds were arranged down either side of the room”.
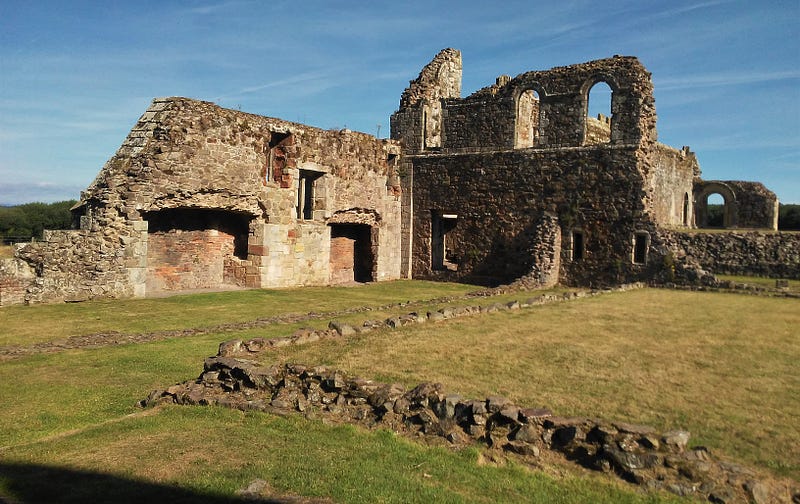
Taken directly from the small and weathered information board: “Refectory, eating and listening — The building in front of you housed the canon’s refectory or dining hall. Built around 1180, it was a two storey structure with the refectory on the upper floor”.
View from the refectory as you journey around the inside of the ruins.
View from the site of the kitchen and back toward the cloister.
The beautiful sight that greets you as you approach a final admiring look back over the entirety of the ruins.
As above, but here’s another angle of both the kitchen and the arches of the laver.
A final closer up view of the kitchen area as we circle the final remnants of the ruins.
A final look back from near the entrance to the site of the entire ruins.
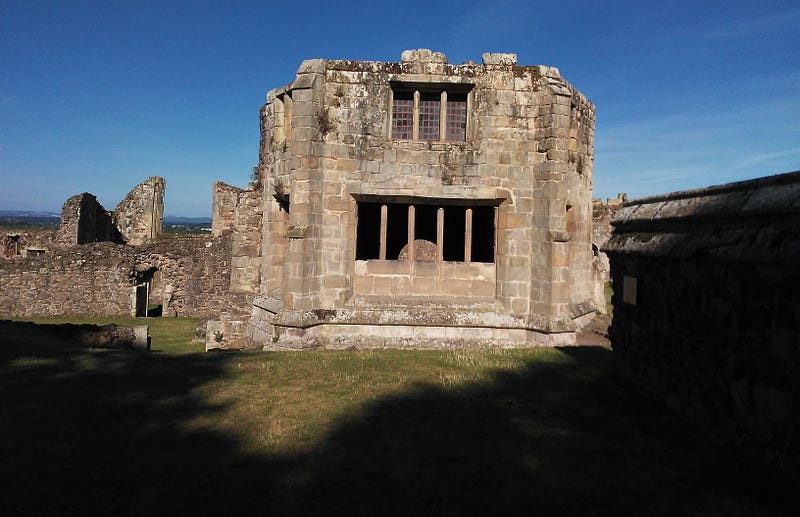
A final view through the magnificent Abbot’s Hall.
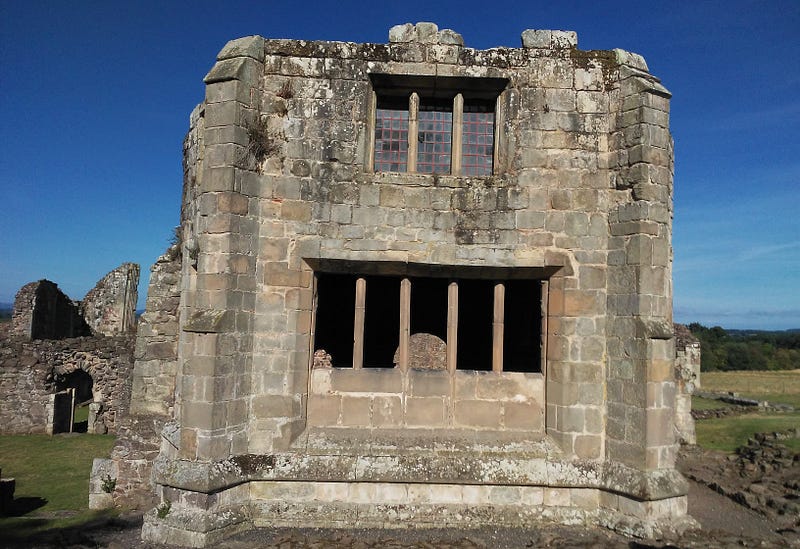
(1) Taken directly from the small and weathered information board: “Abbot’s Withdrawing Chambers — The upper and lower floors of this building were comfortable rooms for the abbot. Here he could retire from the “Great Hall” to relax or entertain privileged guests”.
(2) Taken directly from the small and weathered information board: “Abbot’s Withdrawing Chambers — The upper and lower floors of this building were comfortable rooms for the abbot. Here he could retire from the “Great Hall” to relax or entertain privileged guests”.
(3) Taken directly from the small and weathered information board: “Abbot’s Withdrawing Chambers — The upper and lower floors of this building were comfortable rooms for the abbot. Here he could retire from the “Great Hall” to relax or entertain privileged guests”.
A final view of the “Great Hall” or Abbot’s Hall.
(1) Three final views from a quite beautiful morning in the sunshine.
(2) Three final views from a quite beautiful morning in the sunshine.
(3) Three final views from a quite beautiful morning in the sunshine.
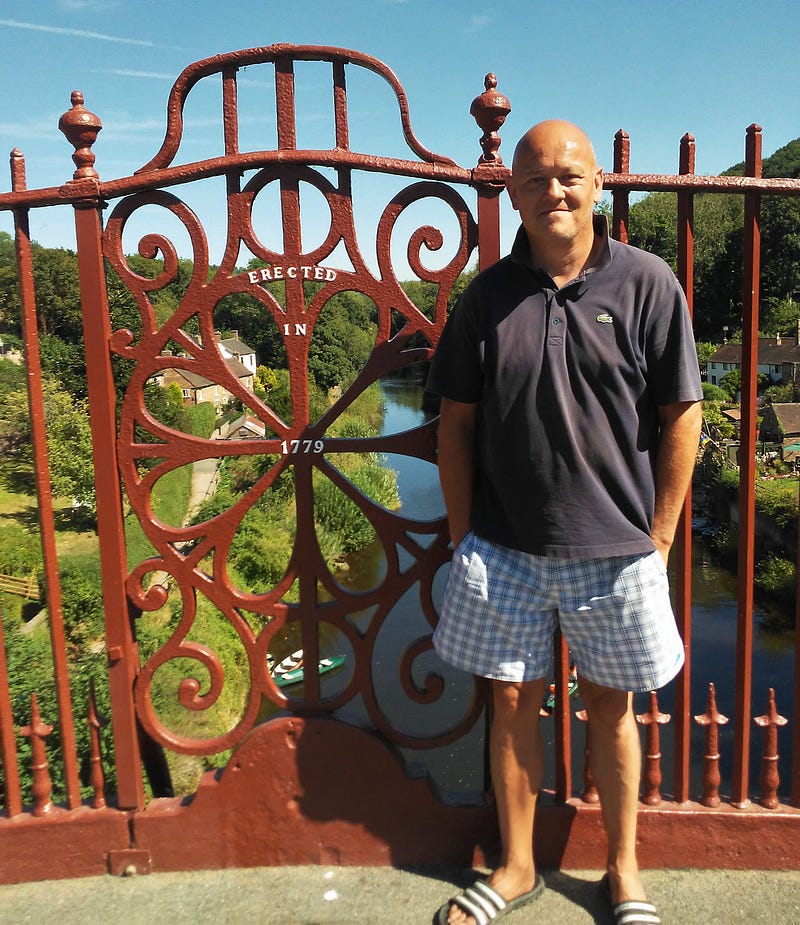
Your humble narrator larking around 4 days later in my own piece of World Heritage history, Ironbridge Gorge, 11th August 2022.
Thanks for reading. Please see my archived articles for more from historical ruins such as these or my soothing trips beside the rivers and canal waterways of the UK.
Alternatively, my three most recently published articles within my travel series are linked below: