A morning of “Perfect Timings” on the Shropshire Union Canal
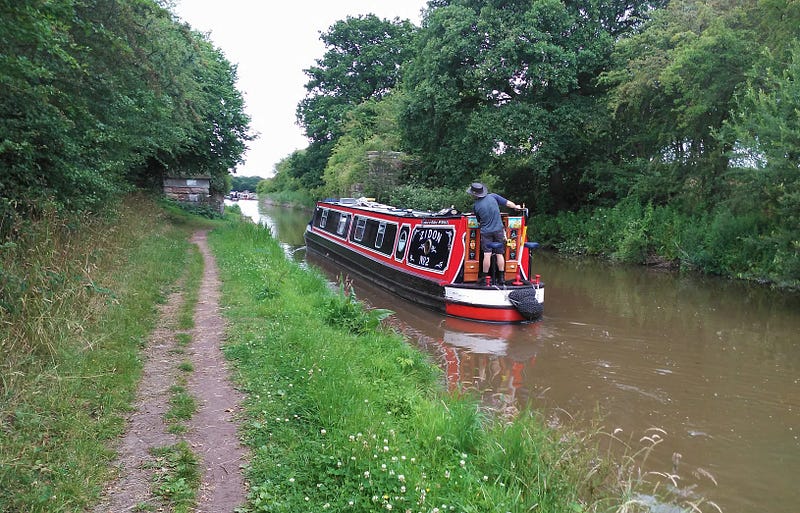
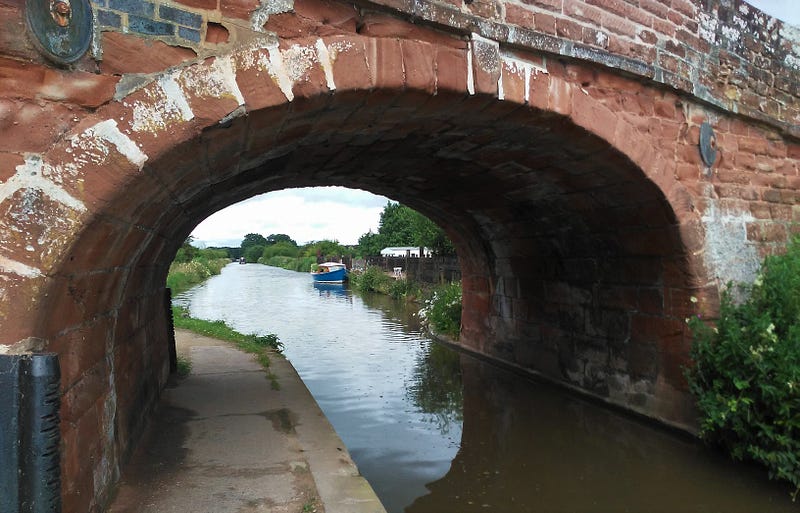
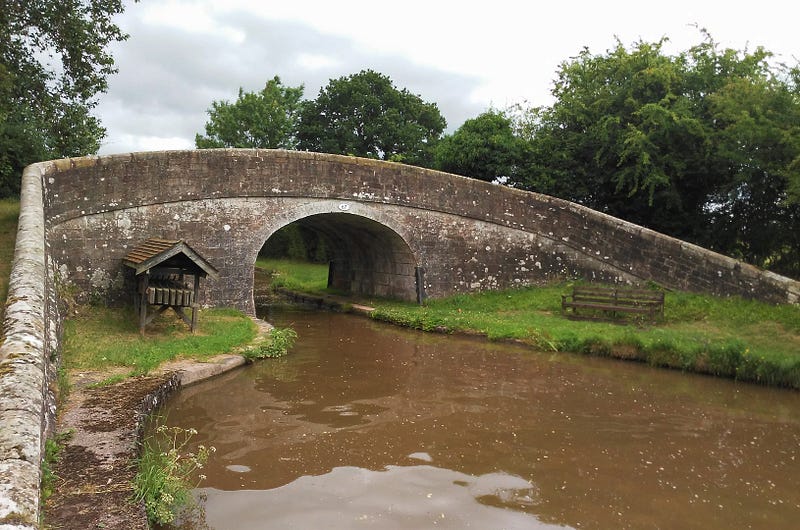
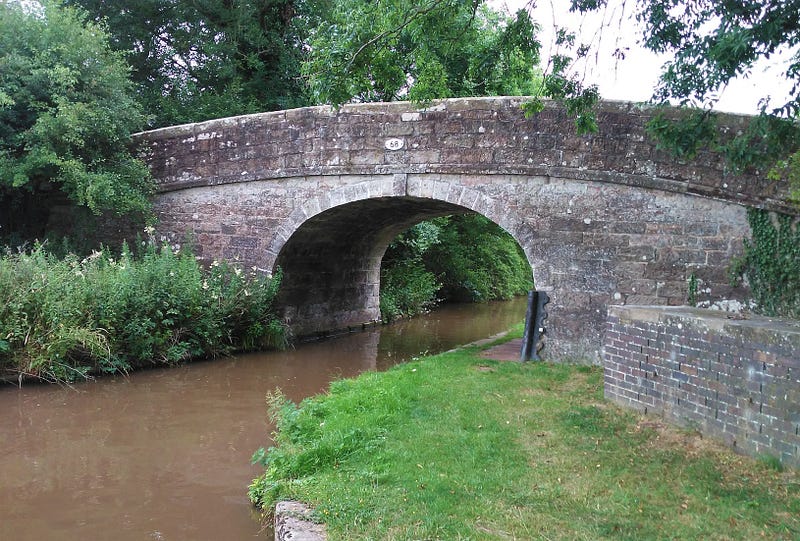
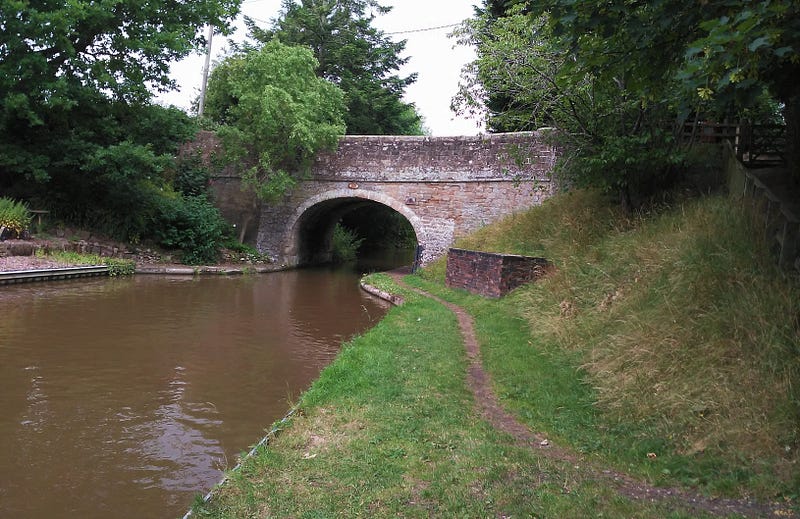
Approaching what I can only describe as a disused bridge of days past as we leave Market Drayton for the 4 mile amble along the Shropshire Union Canal on 6th July 2022 (Author’s Collection).
This edition constitutes the completion of roughly 2/3rds of the entire Shropshire Union Canal and with my rough and ready calculations I have 20 miles to go (or 40 as I always complete a “round trip”) of the 66 mile long stretch of canal or, in my case, an entire looping of the canal and approximately 132 total miles. This particular edition also completes the central stretch of the entire canal, leaving me to “top and tail” the remaining 40 or so total miles and as far north as Nantwich in Cheshire, and south to Autherley Junction in Staffordshire. That’s one of the many beauties of this canal as it’s ostensibly in Shropshire but weaves its way beautifully across neighbouring county borders.
Here are your particulars:
Star Date:
6th July 2022
Route:
Having completed Audlem Locks to Adderley as well as the long stretch from Norbury Junction to Market Drayton in recent weeks, I had this 4 mile stretch of the canal missing from my memory notebook due to roadworks leading to Adderley and Audlem, and so today was the day to start my amble from Market Drayton and the incredibly pleasing five Locks of Adderley 4 miles later.
Today’s stroll was a particular favourite of recent times and hence a bumper crop of photos. The weather was kind aside from a few rogue raindrops and whilst the sun rarely shone, I rather enjoyed capturing these images and I hope they entertain and please you in equal measure.
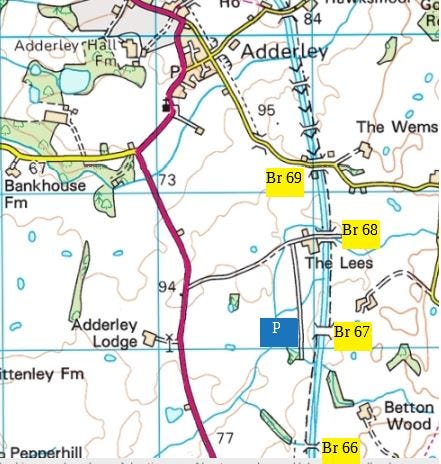
Map of the middle section of this stroll toward the five Locks of Adderley. Picture courtesy and with thanks to www.hodnetanglingclub.co.uk
My disclaimer
As per my previous articles on the canals in the picturesque UK county in which I live, I don’t claim to have any experience of either a canal boat lifestyle or the inner workings and trials and tribulations of life on a houseboat/canal boat or narrow boat (whichever you prefer). I just find the peace, tranquillity and the quirky nature of an almost bygone way of existence and determination to live your life in this way, and in a floating house too, endlessly fascinating. I also bask and prosper in the sunshine, love the sights and sounds of canal life juxtaposed with the earthy nature and countryside that surrounds it, and simply discovering a new piece of the canal waterways puzzle never fails to raise a smile on my face. Guaranteed (Guaranteed) to receive oodles of smiles and “Hello’s” and “Good Afternoon’s” from the human beings you meet and watching dogs leap into a canal in search of a well thrown stick or ball can’t fail to amuse the child in all of us.
So much for all that.
*All images captured by me today, 6th July 2022*
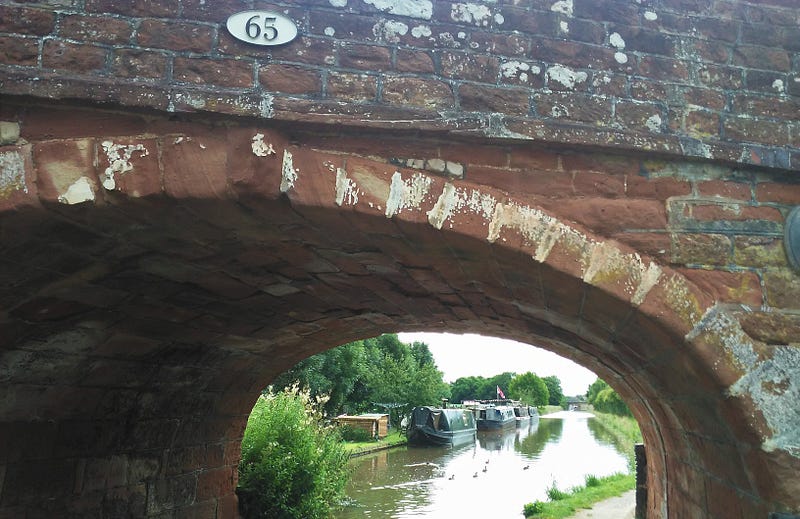
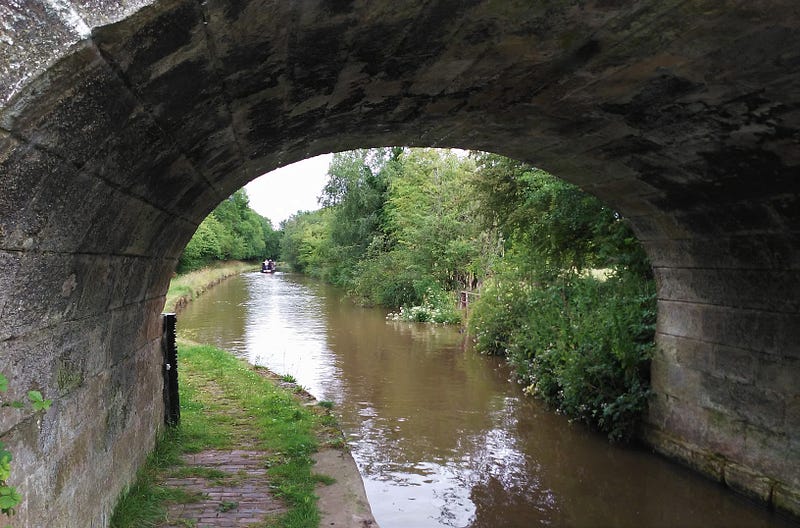
View from beneath our starting point of Bridge 65 or “Victoria Bridge” toward central Market Drayton and Bridge 64 or “Lords Bridge” just visible in the long distance. Although this is travelling in the opposite direction to our virtual stroll, it’s a rather pleasing image with which to commence our journey.
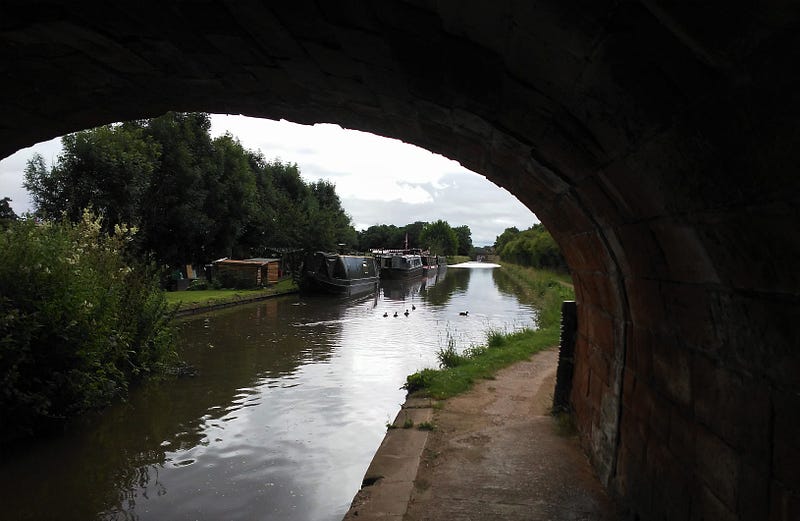
Another view toward central Market Drayton and another pleasing image with which to commence our journey in the opposite direction.
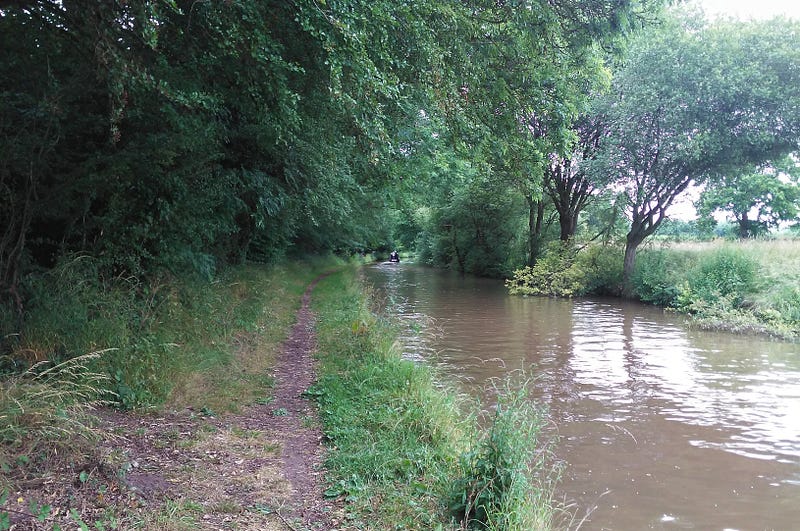
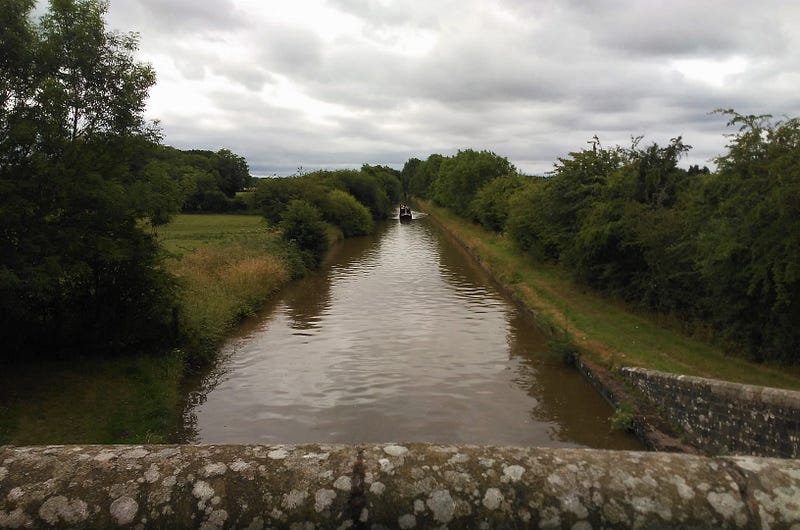
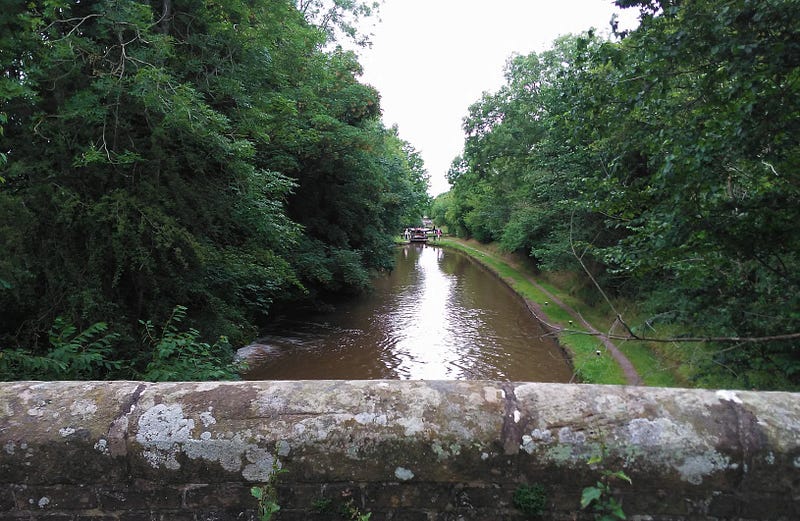
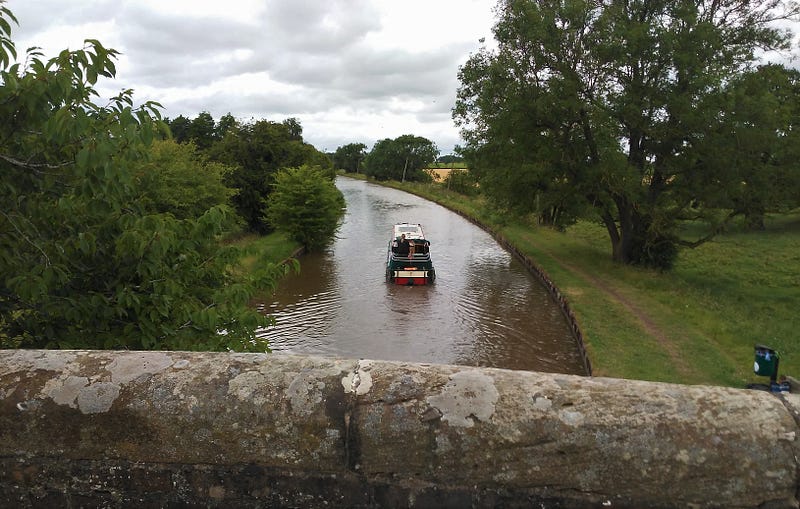
View through Bridge 65 and the longest unbroken stretch of the canal awaits as we travel toward Betton and at least a mile of the total of four before us.
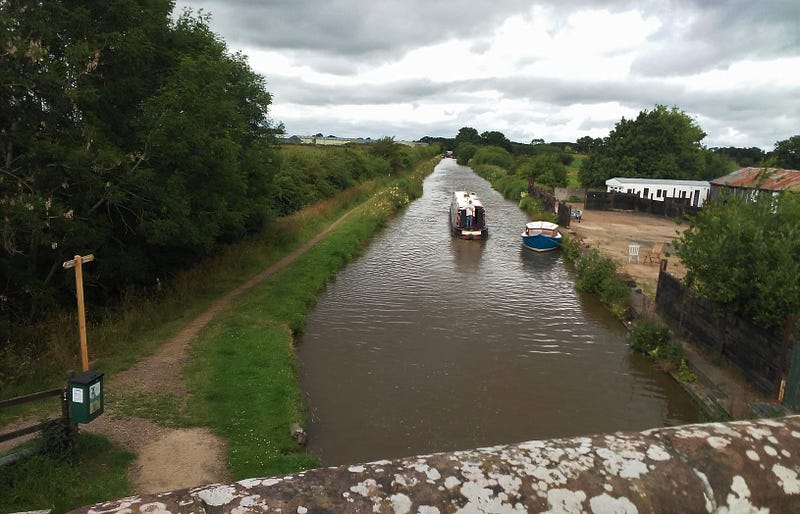
View from atop Bridge 65 and a clearer representation of the long stretch of canal that lies before us as we commence our stroll.
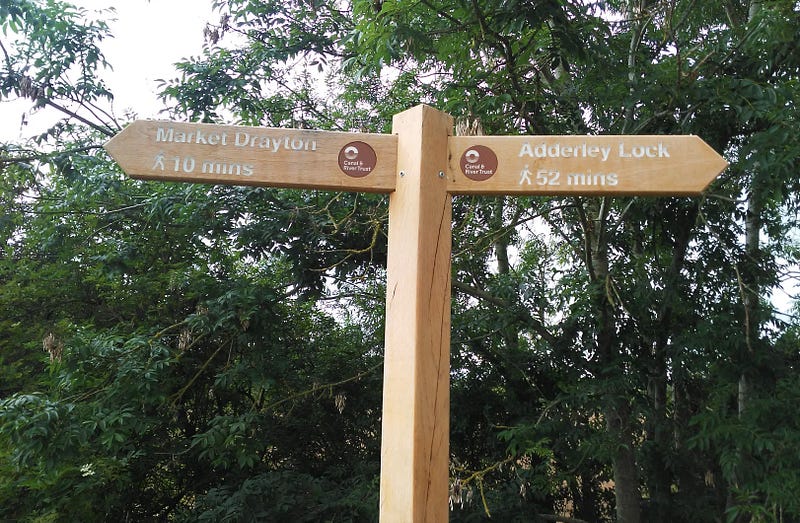
And it was every 1 of those 52 minutes!
I can only describe this as a disused bridge and around a 1/3 of the way toward the first of five total bridges along this stretch of the canal.
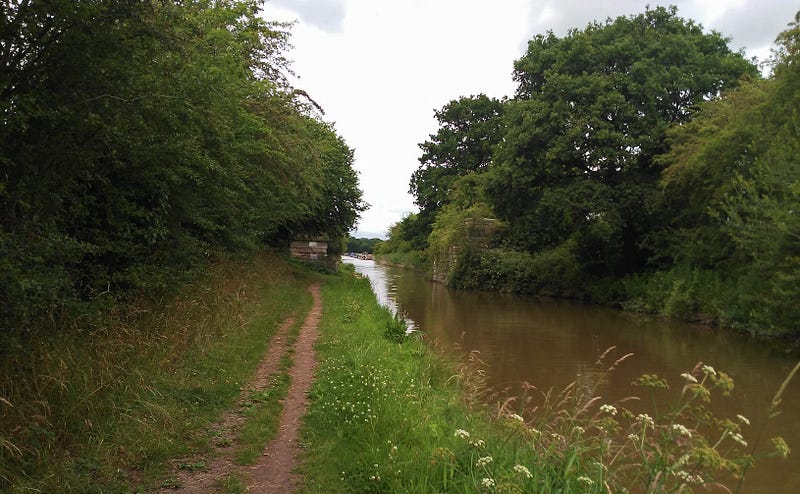
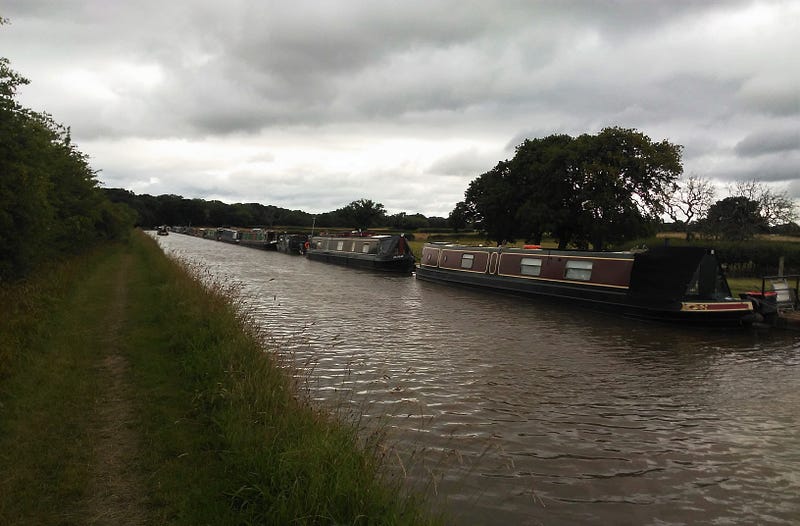
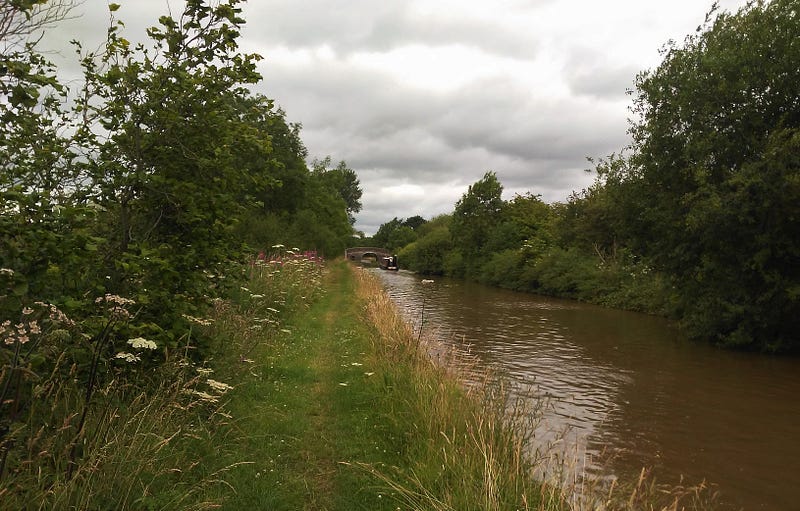
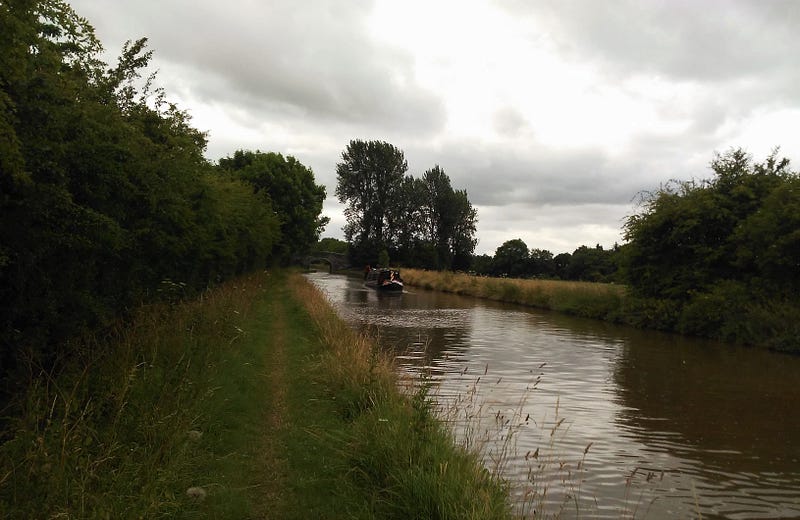
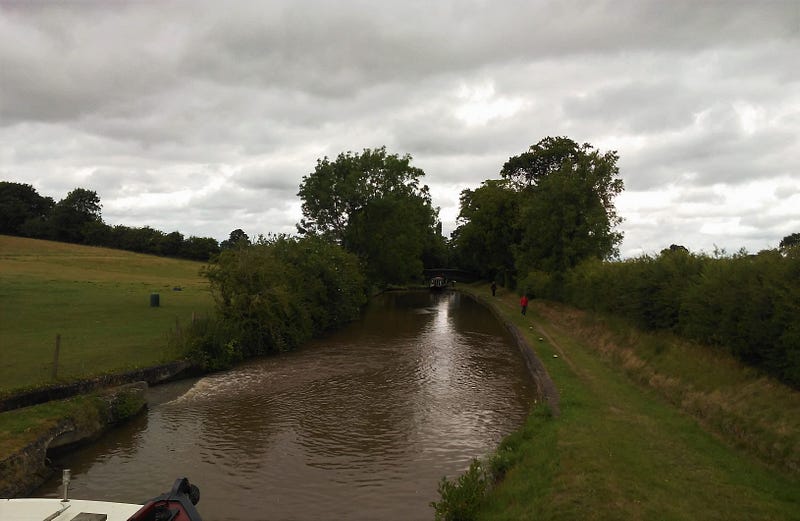
Further along the lengthy opening stretch of canal as we head toward Betton/Betton Moss. This particular image captures the early part of the stroll with typically English dark clouds atop a wide expanse of countryside.
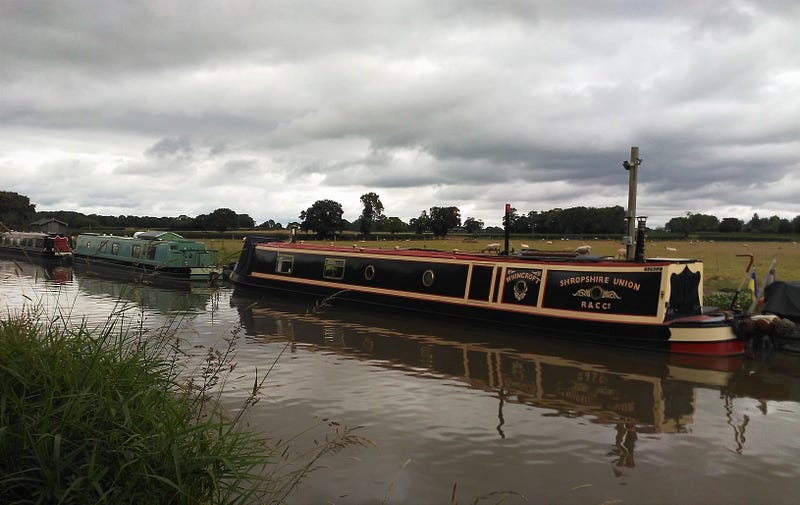
Norton Moorings halfway along the opening stretch of canal.
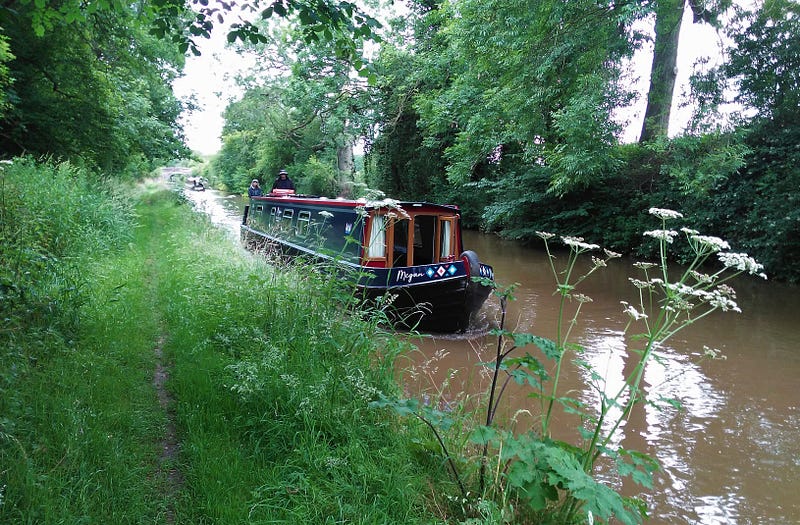
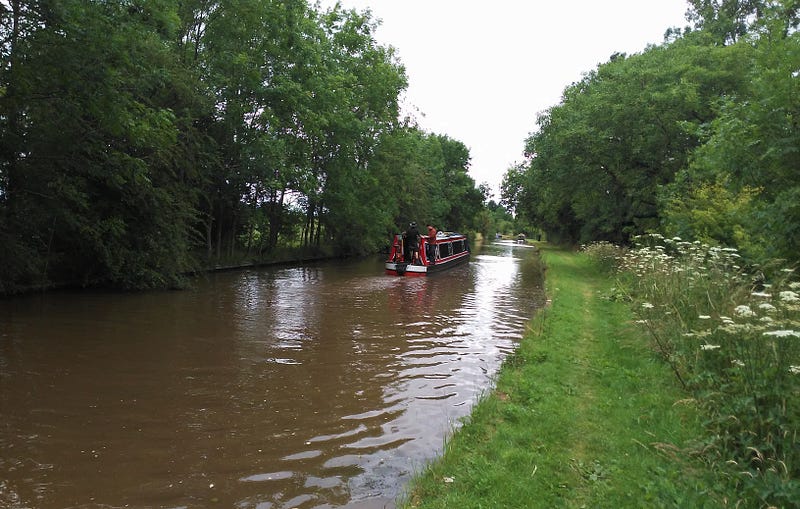
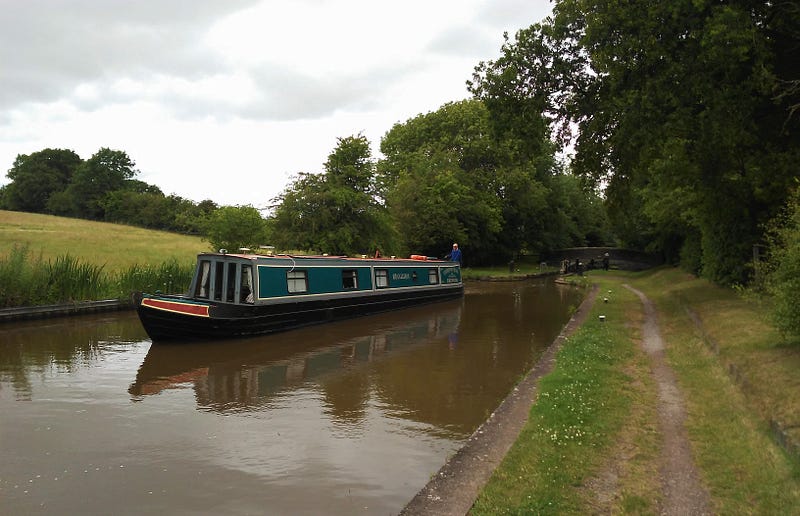
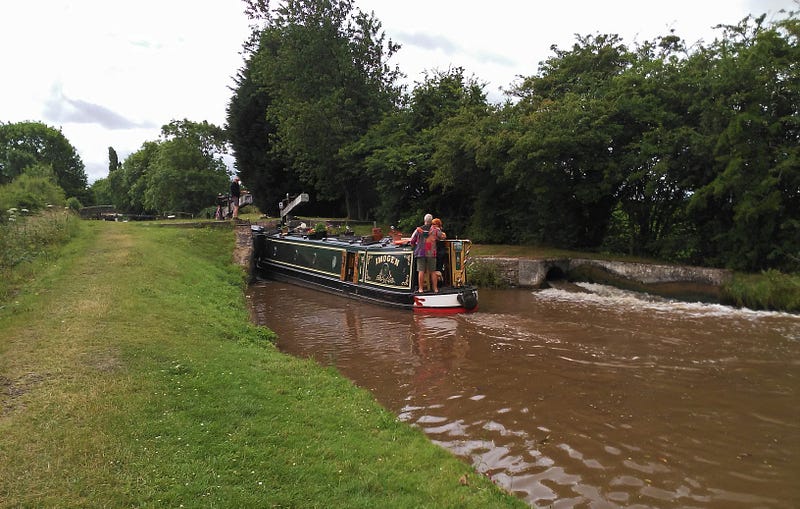
As per the image above, I had the pleasure of following this canal boat above until the Locks at Adderley. Here we’re approaching a bend in the canal with the most picturesque sections of the canal still ahead.
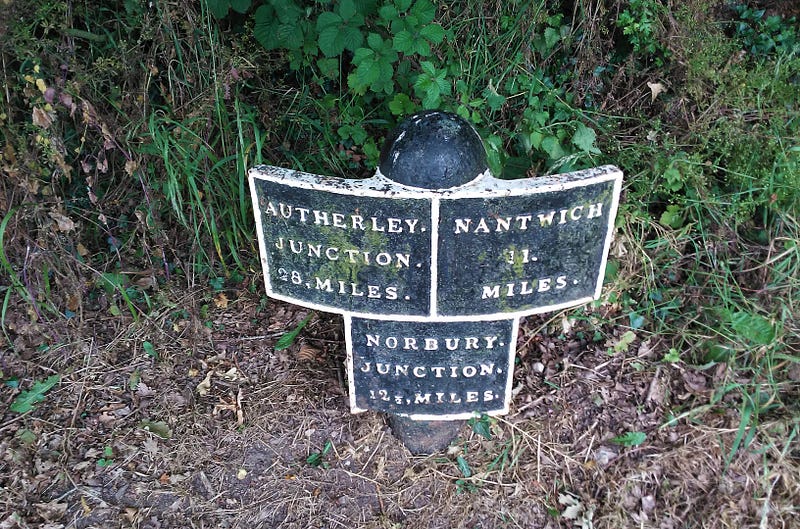
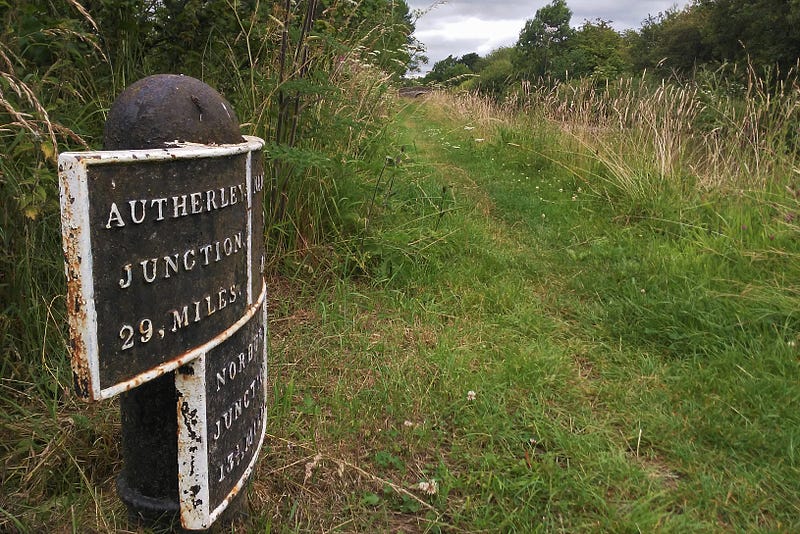
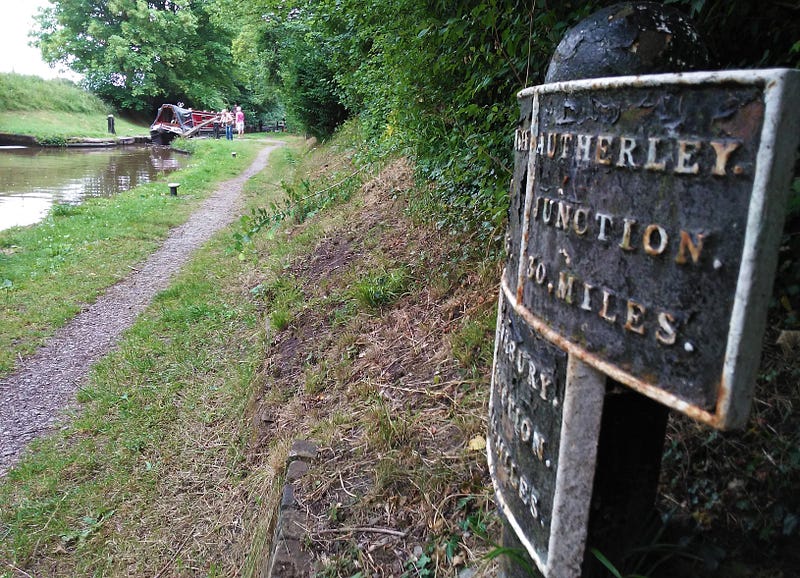
The obligatory inclusion of a favourite remnant from a bygone age.
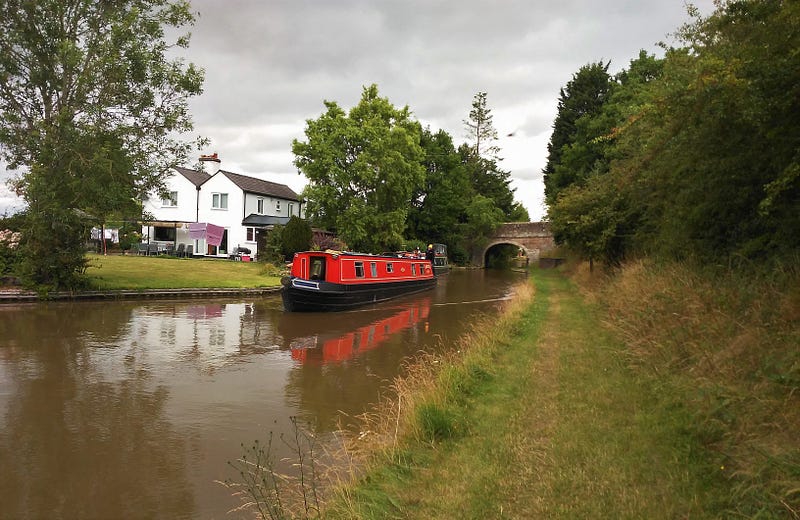
With Bridge 66 just visible in the distance, the first of many “Perfect Timing” moments that will follow.
Bridge 66 or “Betton Wood Bridge” ahead.
Bridge 66 at Betton Wood.
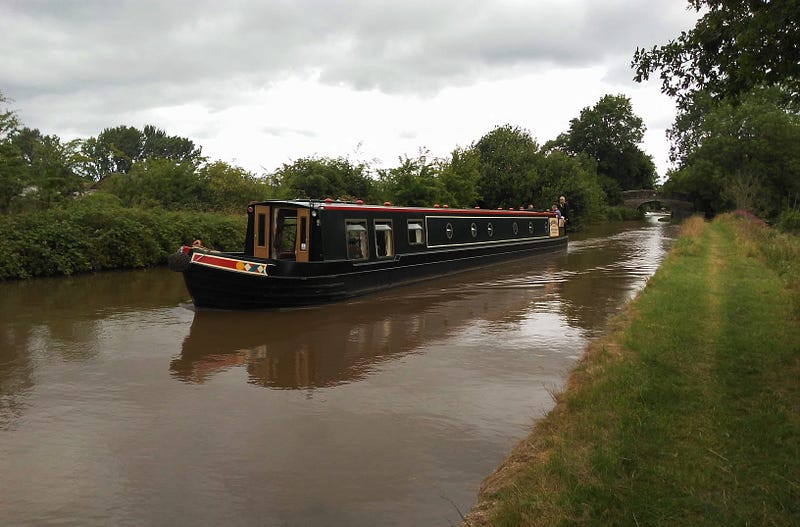
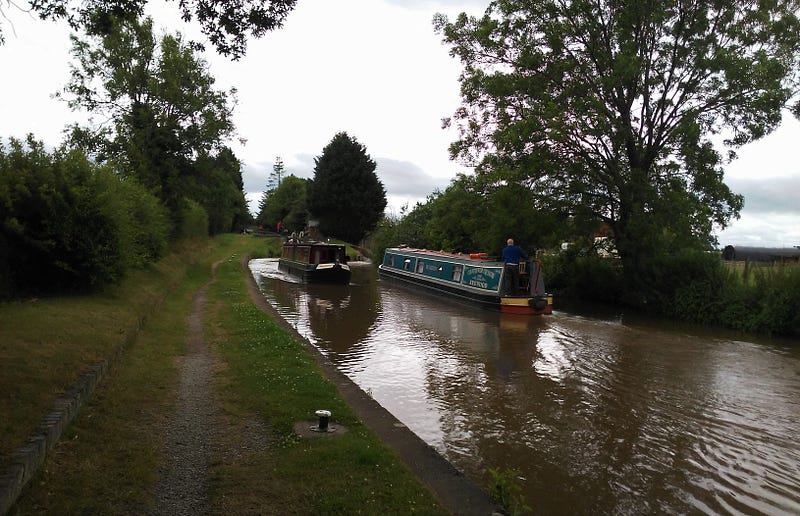
A favourite image captured this morning as we continue to follow the same canal boat toward Adderley Locks.
Bridge 67 or “Betton Coppice Bridge” ahead.
Couldn’t quite get the angle but Bridge 67 at Betton Coppice is just visible ahead.
Bridge 67 at Betton Coppice, a lovely image as well as a pleasing memory from this morning’s stroll.
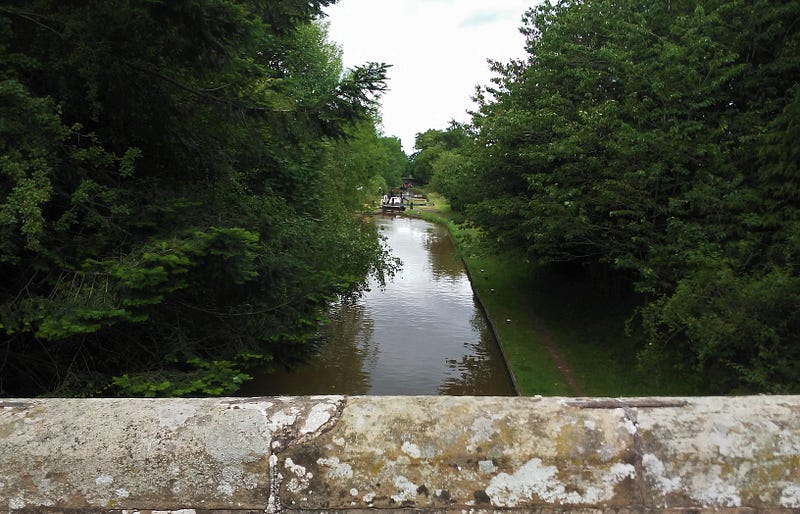
View from atop Bridge 67 and another favourite image captured on this beautiful morning.
Bridge 67 at Betton Coppice.
Another pleasing “Perfect Timing” moment from this morning.
Heading in the opposite direction but I couldn’t resist such a perfect moment.
Bridge 68 or “Adderley Lees Bridge”.
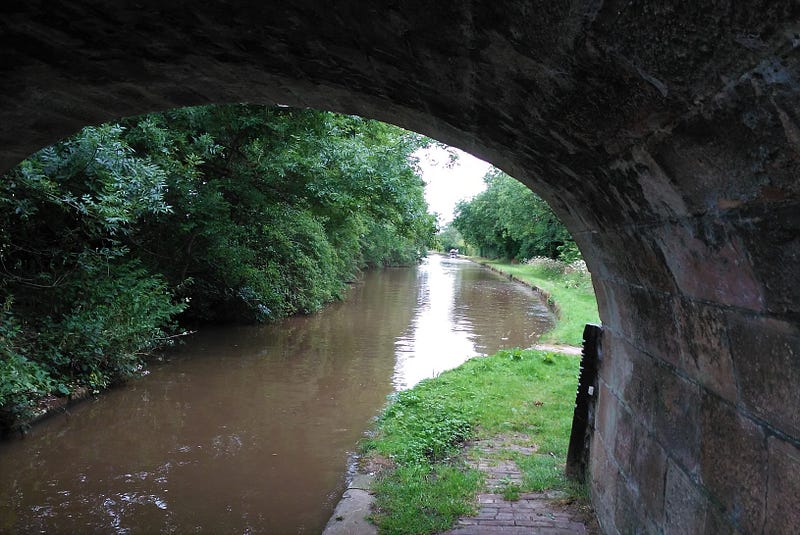
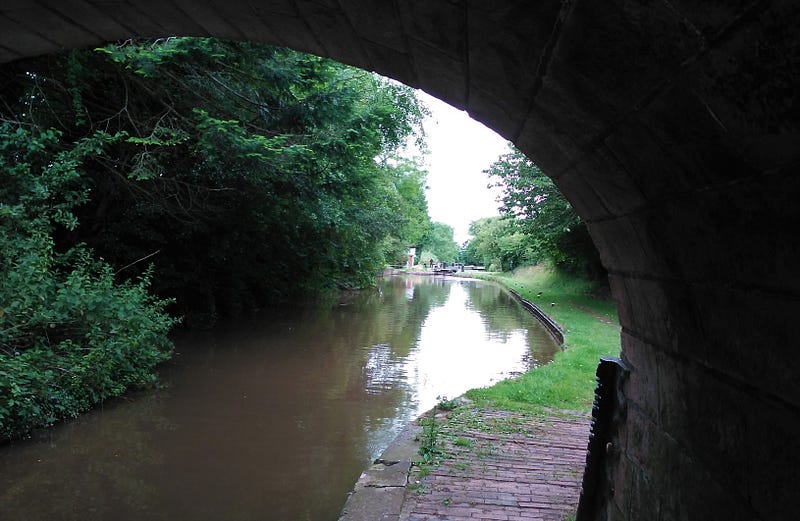
View from beneath Bridge 68 and the short bend in the canal leading to Bridge 69 or “Adderley Wharf Bridge”.
View from atop Bridge 68 and a final stretch toward Adderley and the upcoming five Locks.
Another pleasing image captured this morning and another in a long line of “Perfect Timing” moments ahead as we progress through the Locks of Adderley.
A “Perfect Timing” moment to savour as we approach Bridge 69 or “Adderley Wharf Bridge”.
Bridge 69 or “Adderley Wharf Bridge”.
View from atop Bridge 69 toward the first 2 of 5 total Locks in Adderley.
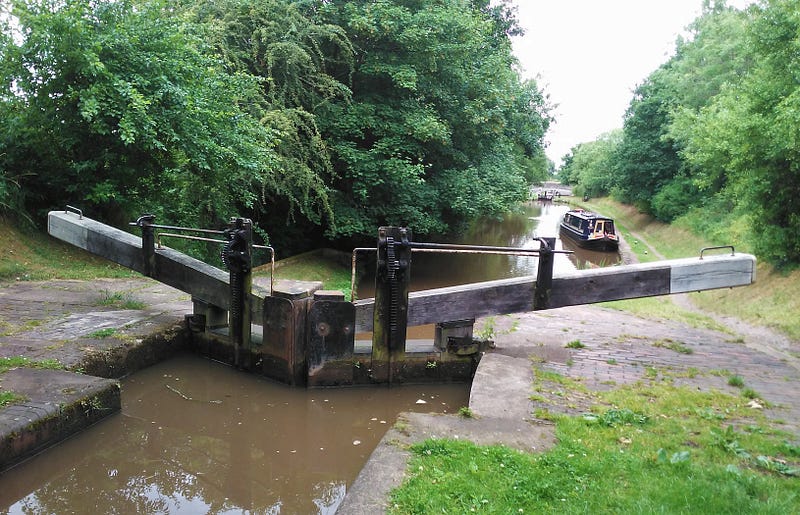
View from beneath Bridge 69 with the first of 5 Locks in the near distance.
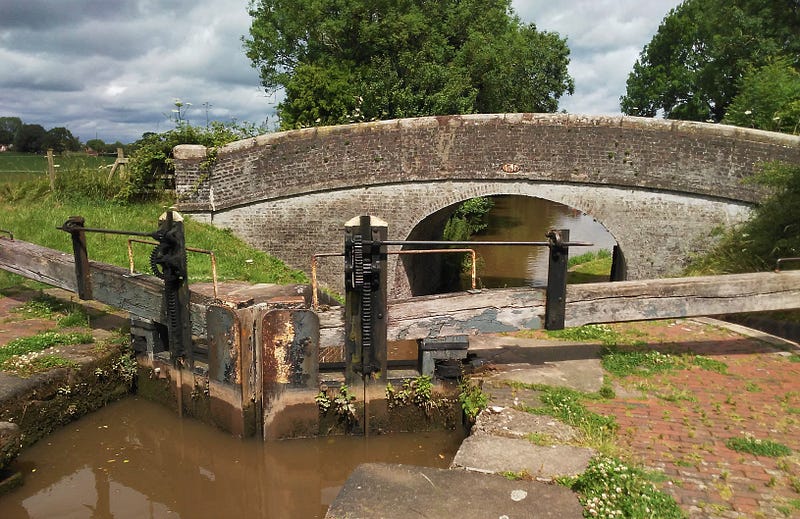
With the first of 5 Locks open and the canal boat rising before departure, the second Lock awaits in front of Bridge 70 or “Wems Bridge”.
Higher view from Lock Number 1 at Adderley.
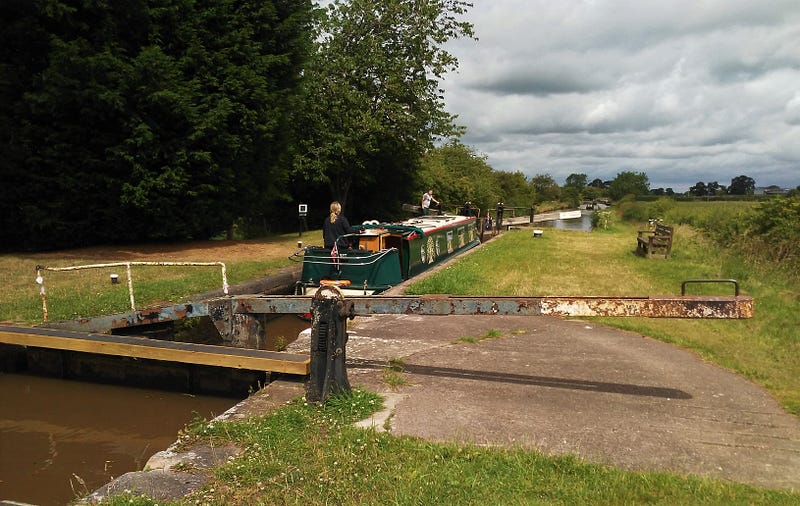
A “Perfect Timing” moment between Locks 1 and 2 at Adderley.
Turning momentarily in the wrong direction but why the hell not? This is a rather fetching image captured from a beautiful morning.
Lock Number 2 and Bridge 70 at Adderley Locks.
View from Bridge 70 or “Wems Bridge” toward the next 2 of the 5 total Locks at Adderley.
View from beneath Bridge 70 toward the next 2 Locks at Adderley.
My favourite image luckily captured at Lock 3 at Adderley this morning.
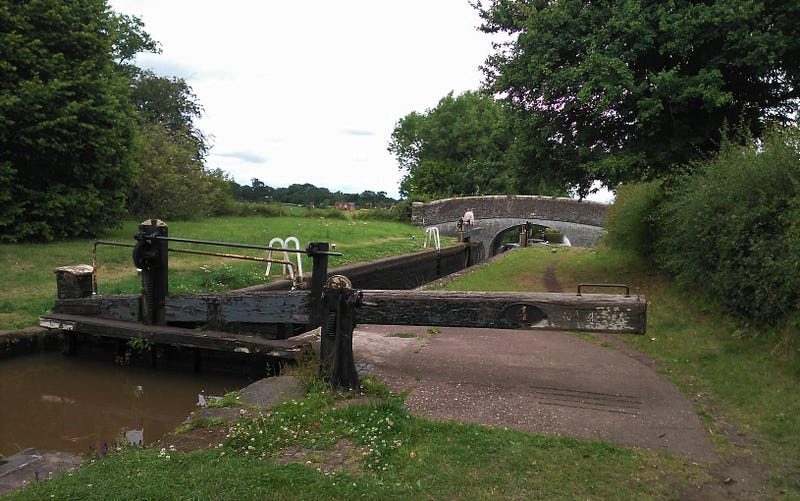
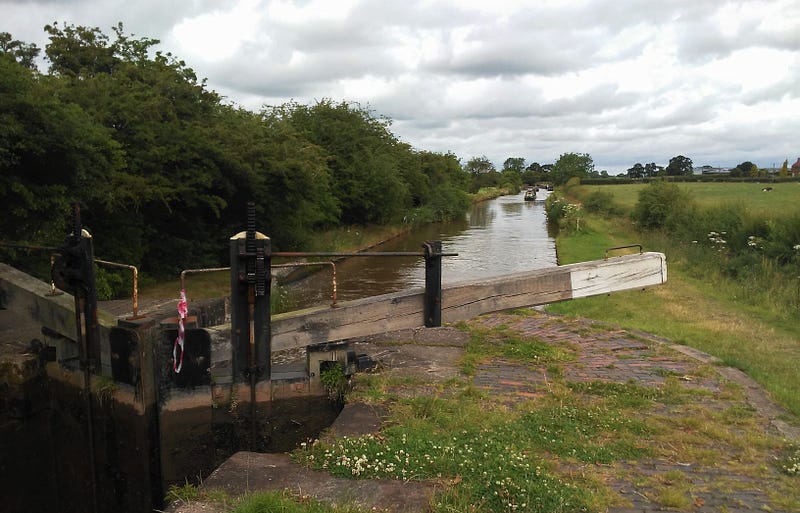
View from between the gates of Lock 3 toward Lock 4 and Bridge 71 or “Massey’s Bridge”.
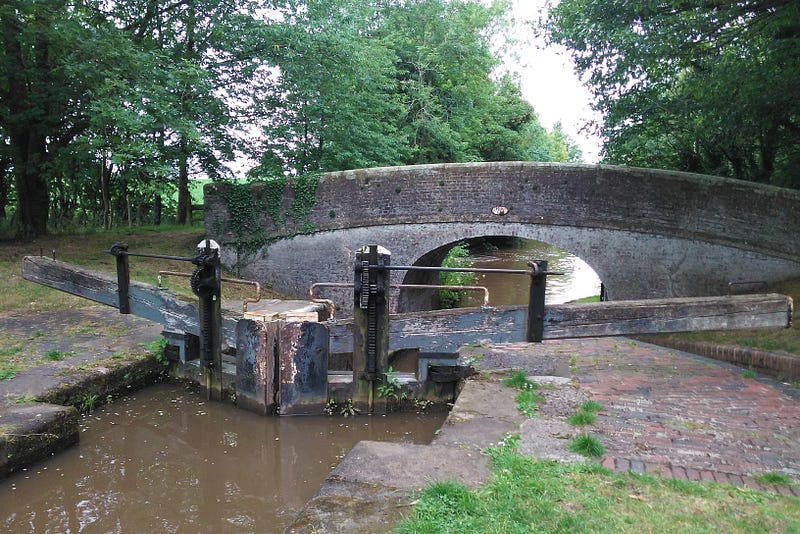
Lock Number 4 and Bridge 71 at Adderley Locks.
Closer image of Lock Number 4 and the drop down and under Bridge 71.
Bridge 71 or “Massey’s Bridge” and the final stretch of canal toward the final Lock and Bridge in beautiful Adderley.
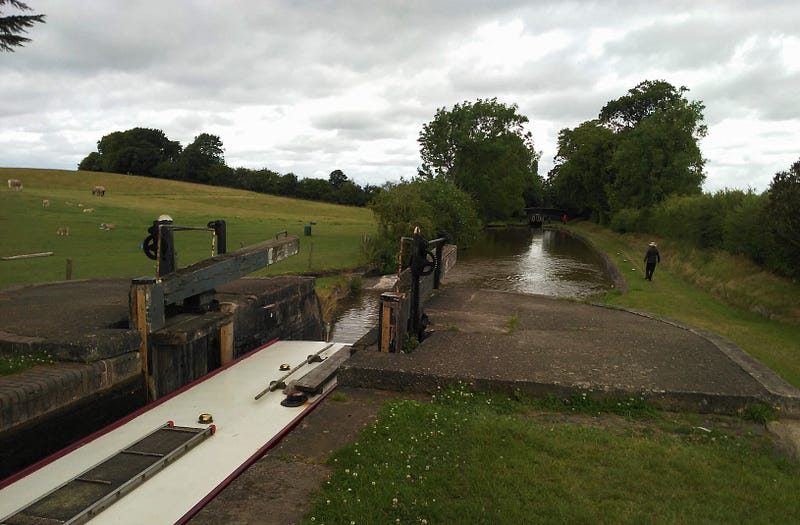
View from the final Lock in Adderley and the lovely couple I assisted with the opening of the Lock.
Higher view from Adderley’s final Lock and the final descent to Bridge 72 or “Hawksmoor Bridge”.
Another “Perfect Timing” moment as we approach our final destination in Adderley.
Another reverse view back toward Lock 5 and an image I couldn’t resist capturing this morning.
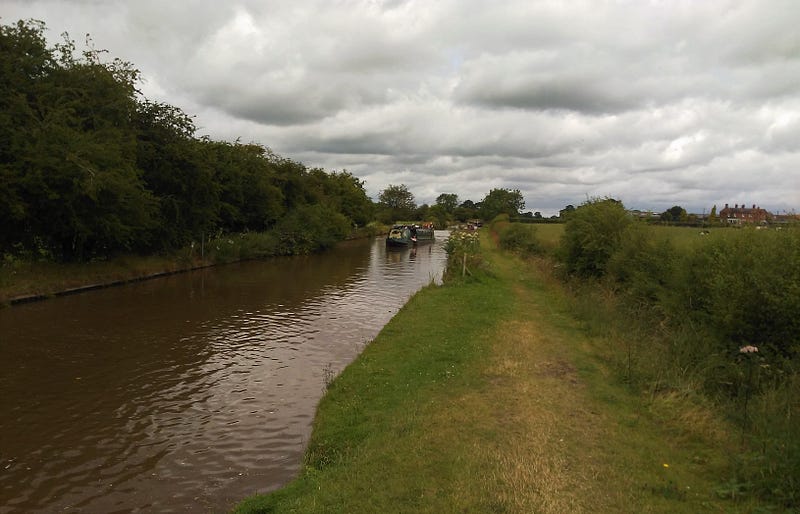
So quintessentially English and the wide open expanse of countryside to our right as we approach the final Bridge and our end point in Adderley.
Our final destination of Adderley and Bridge 72 or “Hawksmoor Bridge”.
A “Perfect Timing” moment with which to finish and a view from atop Bridge 72 toward the first of fifteen (15!) Locks on the approach to beautiful Audlem Mill. Please see previous editions in this series for my stroll amongst the multiple Locks of Audlem. A must see edition!
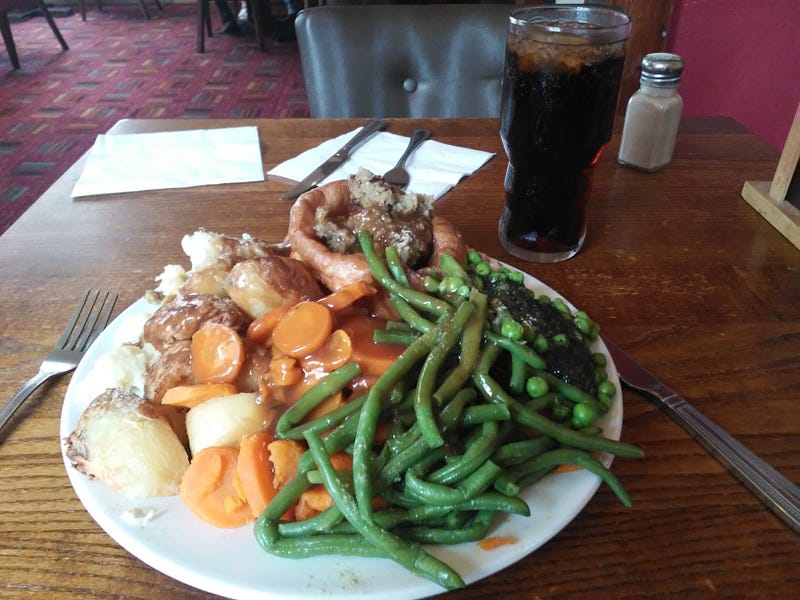
Oh come on! We earned it! Perhaps an English/British only tradition, but I present to you a carvery I thoroughly enjoyed as I hobbled with aching feet through the restaurant!
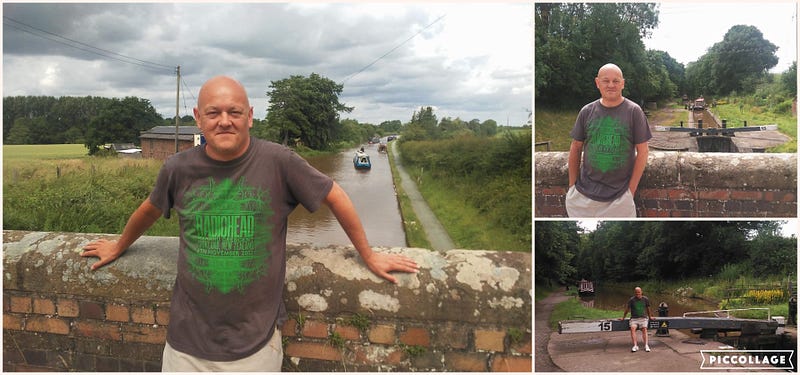
Your humble narrator (in obligatory Radiohead t-shirt) at Lock 15 of Audlem Mill during a brief visit with my beautiful son at the end of June 2022.
Thanks for reading. I sincerely hope you’ve enjoyed this virtual stroll along a canal in the central beating heart of England and if so, please also consider these other recently published editions within this continuing series of articles: