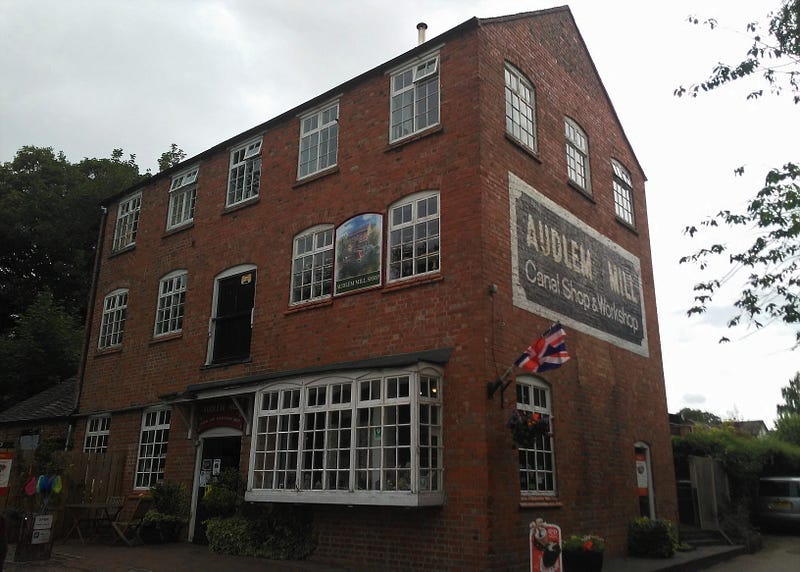
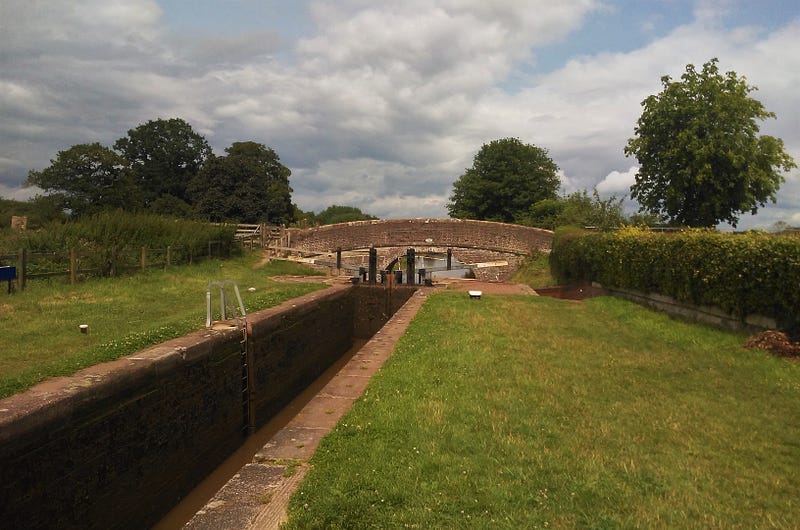
Lock Number 12 at Audlem Mill on the Shropshire Union Canal (Author’s Collection)
Audlem (population 1,991 as at the 2011 census) is a tiny yet beautifully picturesque village in Cheshire near the borders with both Staffordshire and Shropshire and is arguably famous for its mention in the Domesday Book, the majestic Grade I listed building that is St James Church (or Parish Church of St James the Great Audlem to give the church its grander title) and of course the flight of 15 canal locks designed by Thomas Telford that pepper the small stretch of the Shropshire Union Canal running through the centre of the village.
Personally, I stumbled over this stretch of the canal as I endeavoured to walk the entirety of the canal last Summer and return as often as the fancy takes me. Thursday 13th July 2023 was such a day, blighted as it was by the spits and spots of afternoon rain ahead of the heavier showers predicted for the evening. Thus is an English Summer!
Here follows a round trip of sorts, and a pictorial stroll commencing at Lock 15 through to number 1 and back to Lock number 12 in the centre of this beautiful village.
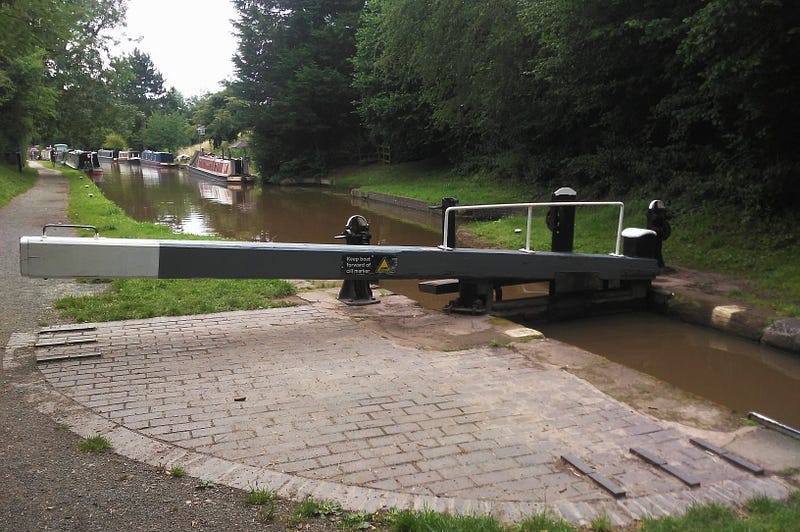
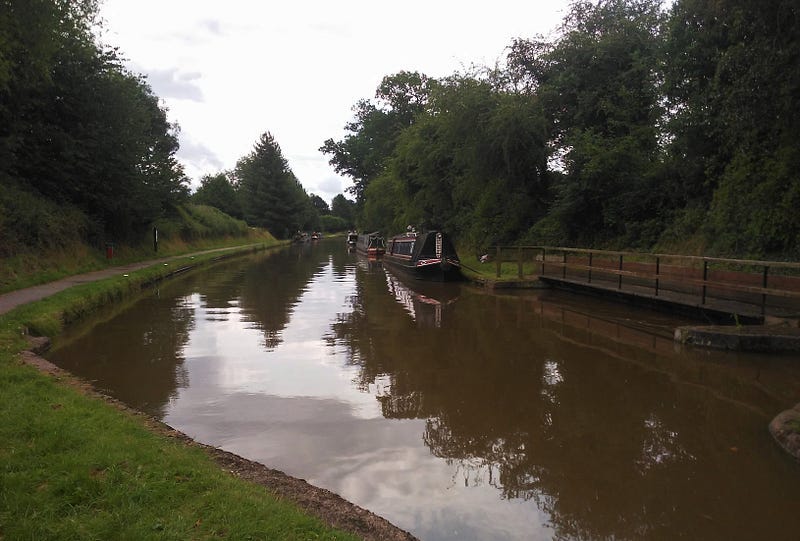
Please say hello to “The Angry Bull”, two houses (of which you can buy me either!) and a pleasure boater emerging from Lock Number 15 at Audlem (or Audlem Mill) and Bridge Number 79 of the Shropshire Union Canal commonly known as “Moss Hall Bridge”.
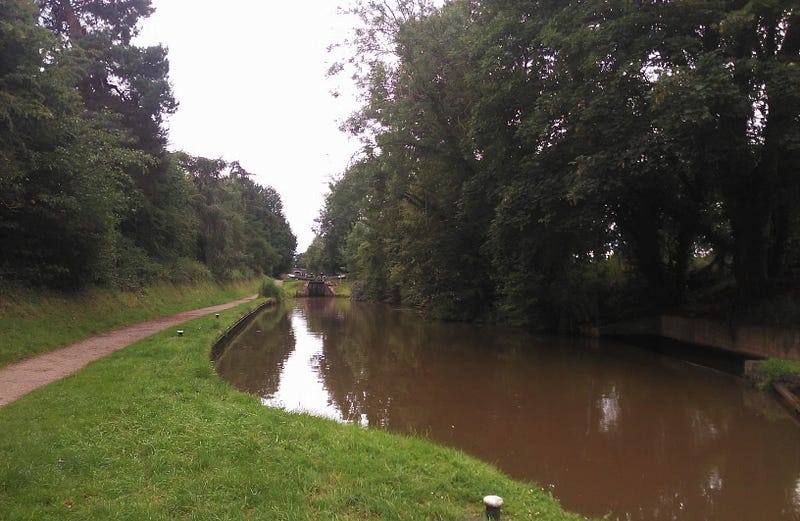
View from “Moss Hall Bridge” heading north/north west toward beautiful Nantwich and ultimately the merging of the Shropshire Union Canal with the Manchester Ship Canal.
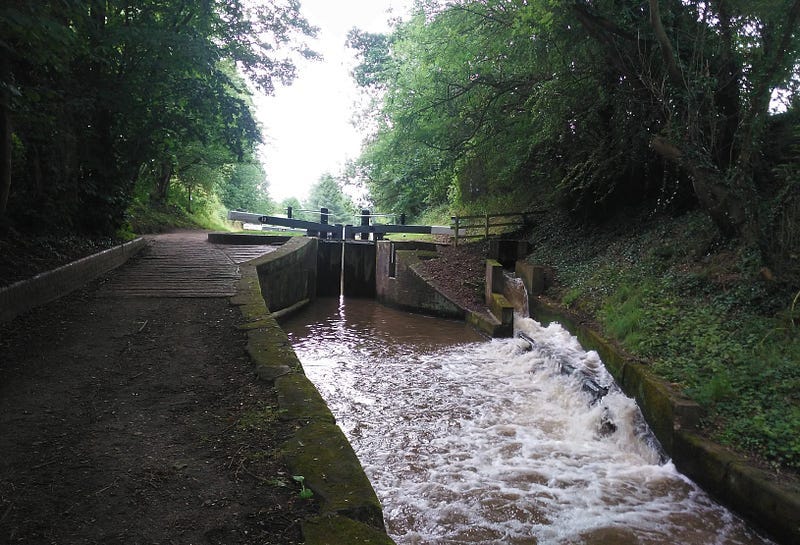
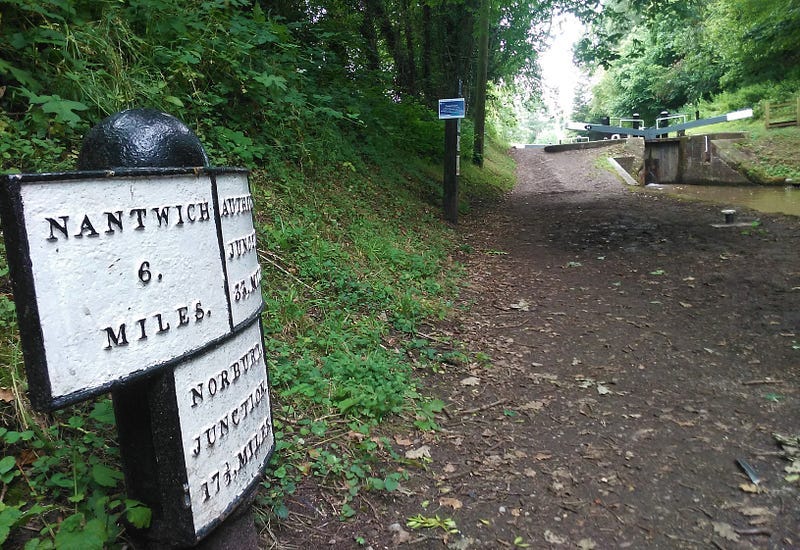
View from “Moss Hall Bridge” heading south/south west toward Norbury Junction and ultimately Autherley Junction where the Shropshire Union Canal begins/ends and merges with the Staffordshire and Worcestershire Canal. Here is Lock Number 15.
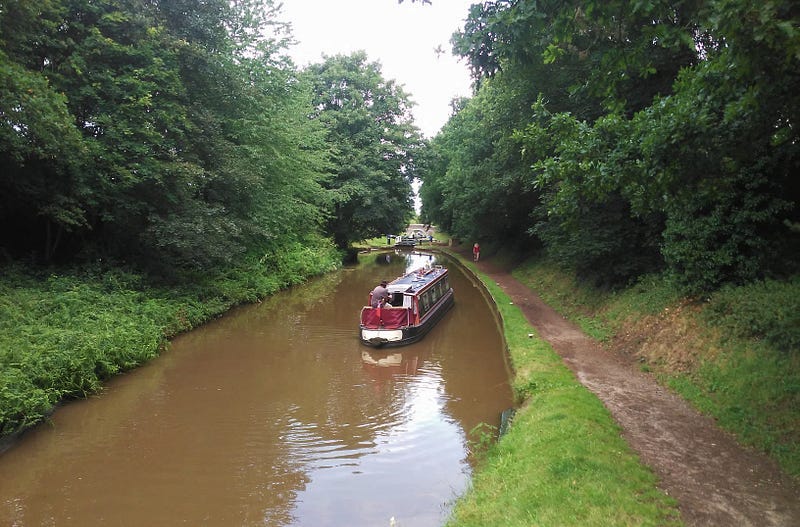
Lock Number 14 and your three ultimate and pleasing stopping points north (Nantwich), south west (Autherley Junction) and a beautiful mid-way point at Norbury Junction. All are covered in depth within my travel archives here.
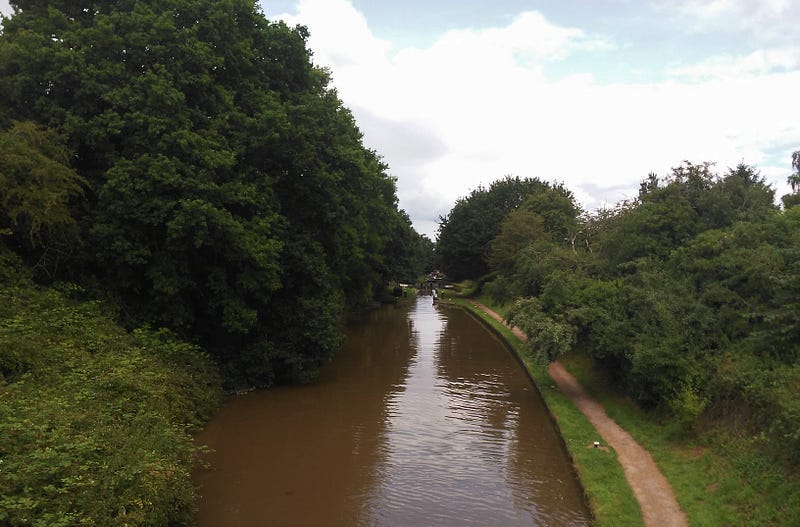
Lock Number 14 and the winding canal ahead leading into central Audlem.
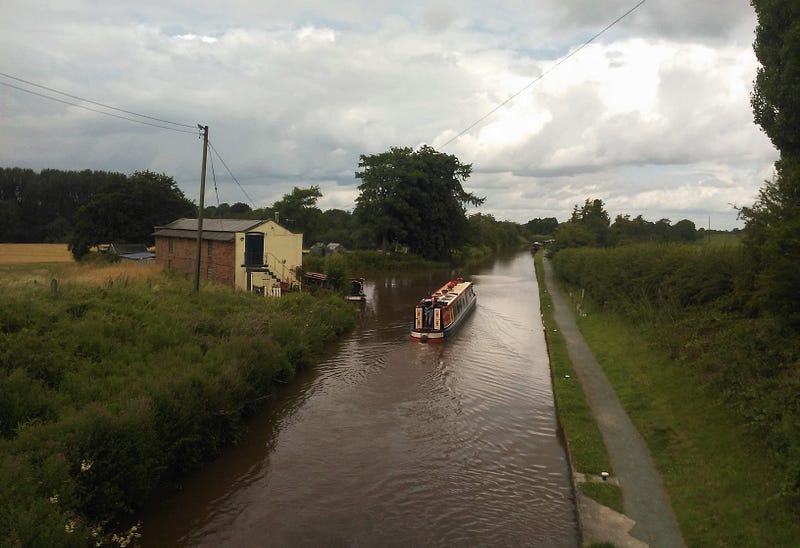
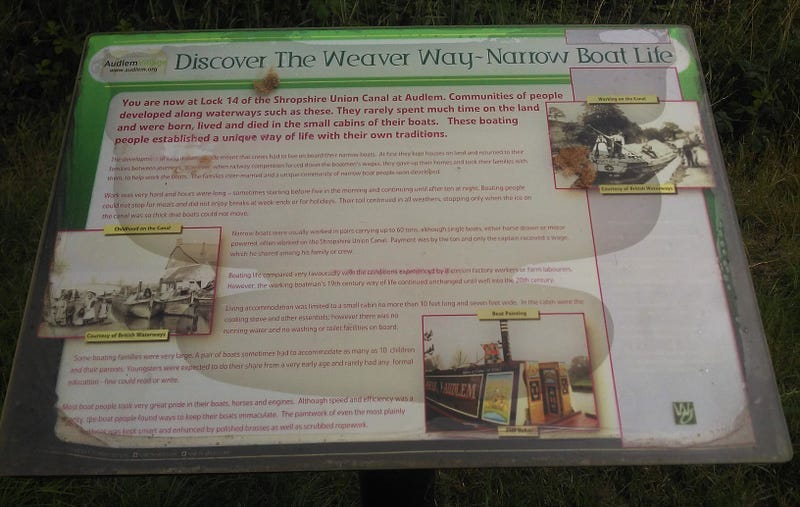
This stretch of canal is also known as “The Weaver Way”.
Welcome to Audlem!
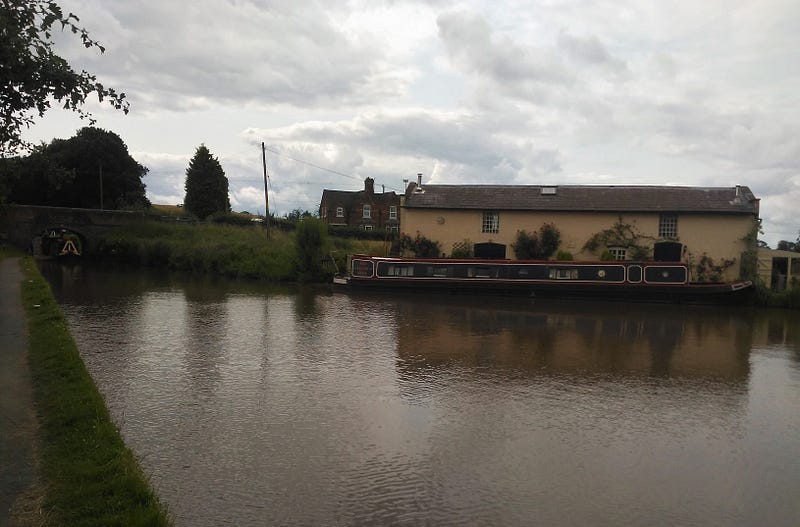
Fancy a second-hand book whilst mooring here at Audlem? Then this is the place for you!
A favourite view of mine from Bridge Number 78 of the Shropshire Union Canal commonly known as “Audlem Town Bridge” and Lock Number 12.
Reflections from a dull Summer’s afternoon and from Lock Number 12 heading south.
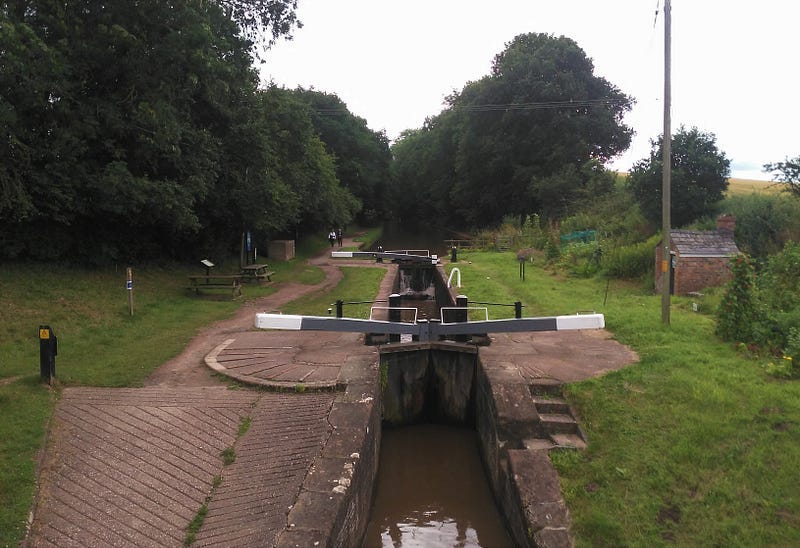
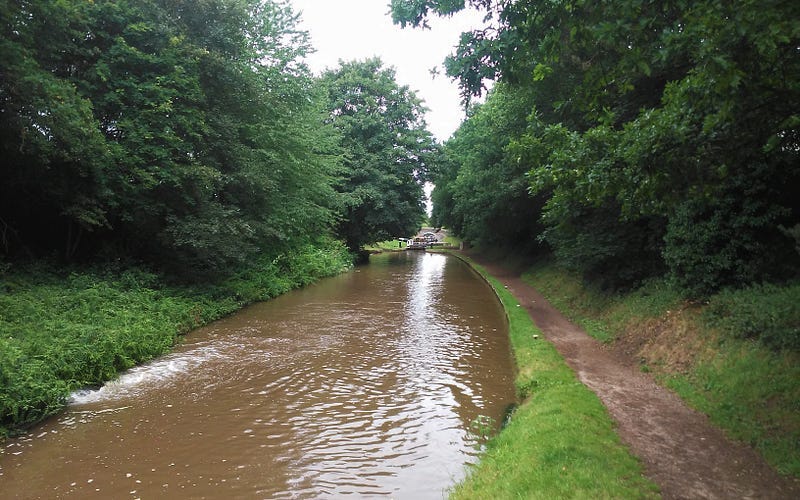
Forward view from Lock Number 8 to Number 7 in the near distance and Bridge Number 77 of the Shropshire Union Canal or “Snows Bridge” just visible in the far distance.
Reverse view from Lock Number 4 with Locks 5 and 6 in the distance.
Forward view of a now opened Lock Number 4 with Bridge Number 76 or “Bagley Lane Bridge” just visible behind the lady walker in red.
Reverse view from Lock Number 2 with Number 3 ahead and “Bagley Lane Bridge” in the far distance.
Reverse view from Bridge Number 75 of the Shropshire Union Canal commonly known as “Cox Bank Bridge” with Lock Number 2 just visible in the distance.
Reverse view of Lock Number 1 and “Cox Bank Bridge”.
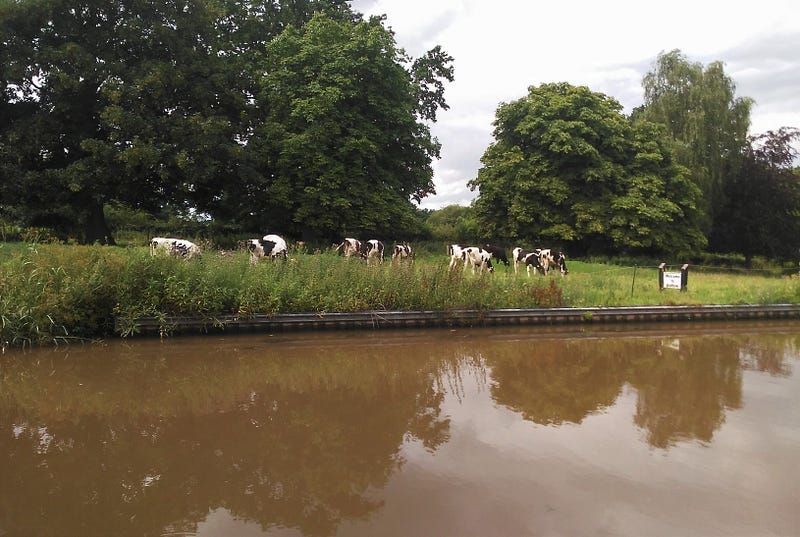
Cows and Reflections. Reflections and Cows!
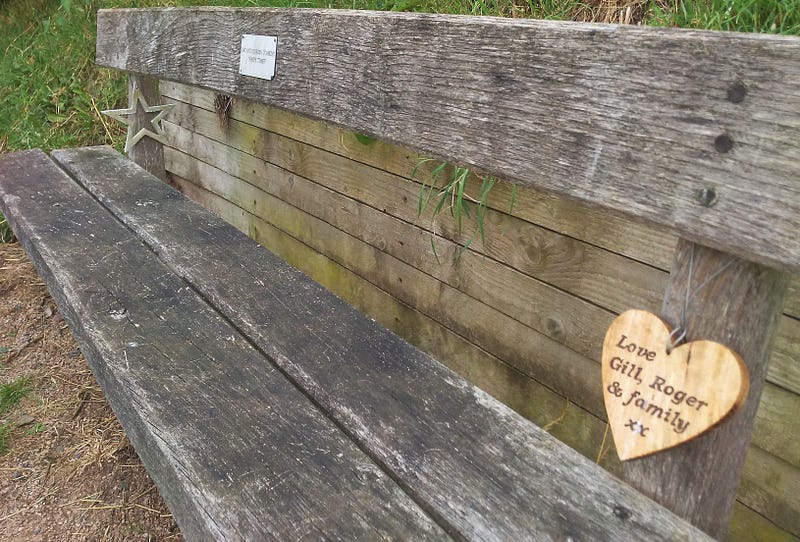
One of the many personalised benches along this stretch of canal.
Reverse view and the open gates of Lock Number 4.
Lock Number 6 and “Snows Bridge” in the far distance.
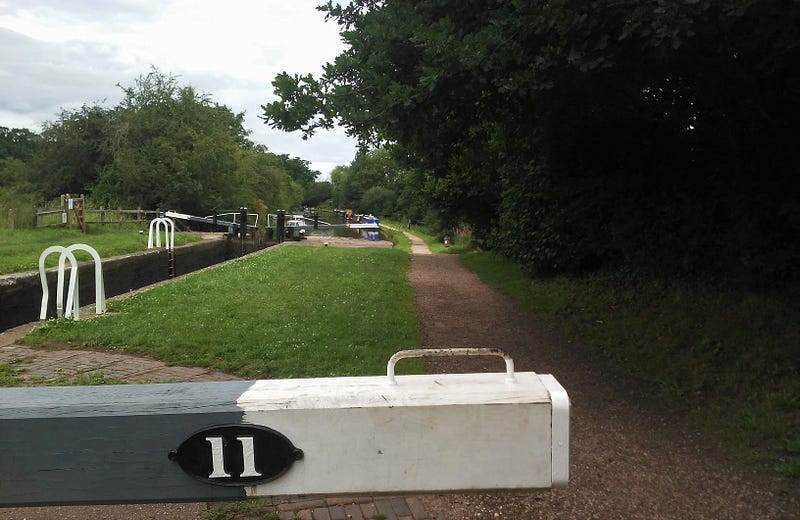
Lock Number 11 at Audlem Mill — Part 1.
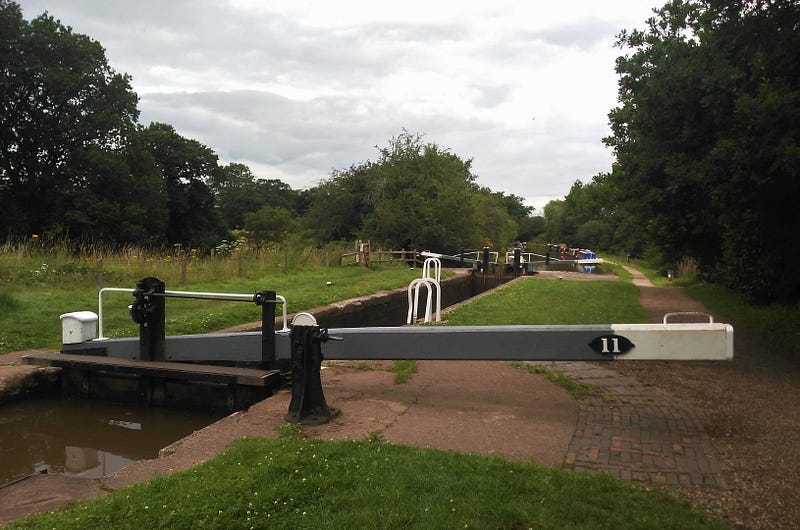
Lock Number 11 at Audlem Mill — Part 2.
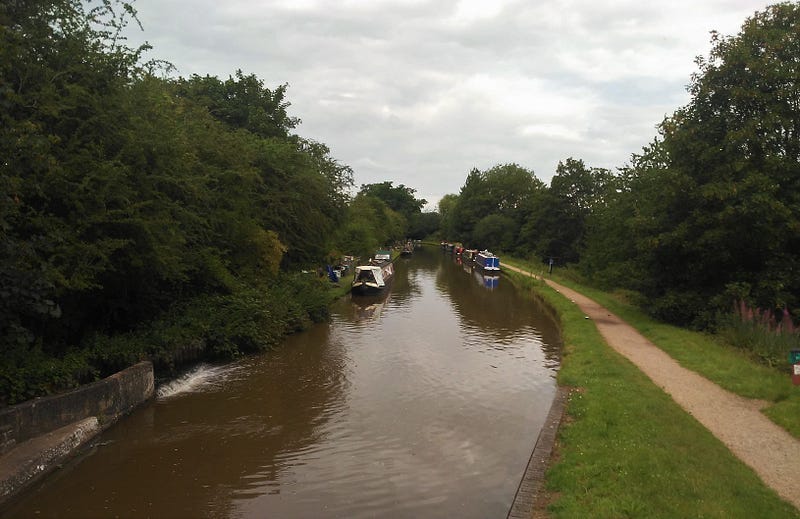
Final reverse view from the top of Lock Number 11 heading toward central Audlem.
Thanks again for the memories Audlem.
Thanks for reading. Please feel free to visit my “UK Travel” library here or alternatively, here are my three most recently published articles from this Summer of 2023: